This post may contain affiliate links. Please read my disclosure.
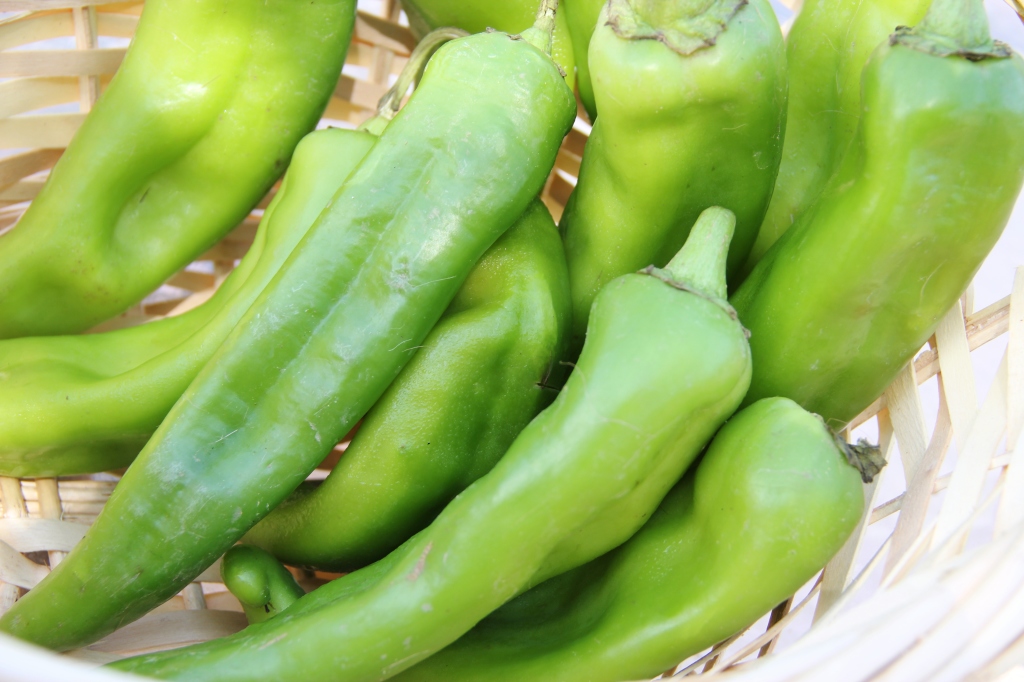
I love late summer. It brings monsoon rains, the promise of cooling weather, back to school, AND Hatch Green Chiles. Oh yeah!
Hubbyman loves to find a local store or restaurant to buy roasted green chiles, but this year we decided to roast our own. And it worked out perfectly that we got a ton in our produce co-op basket last weekend. I’m not ready to commit to a whole case just yet, so we just played with dozen or so that we did get.
So, get yourself a big bag of green chiles, wash them, and fire up the grill!
Wash and dry the chiles. Preheat grill to high and place chiles in a grill basket.
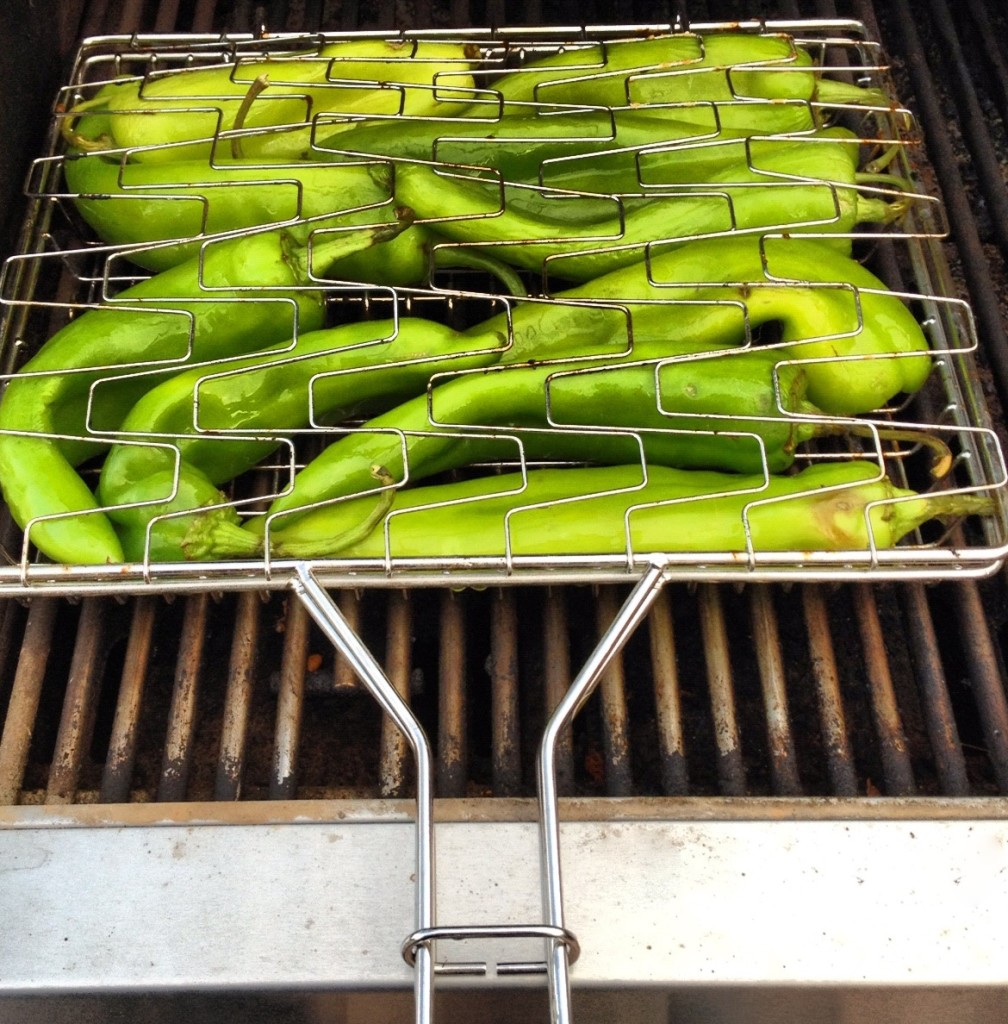
Roast chiles over high heat, turning often to blacken and blister the skin. About 5 minutes per side.
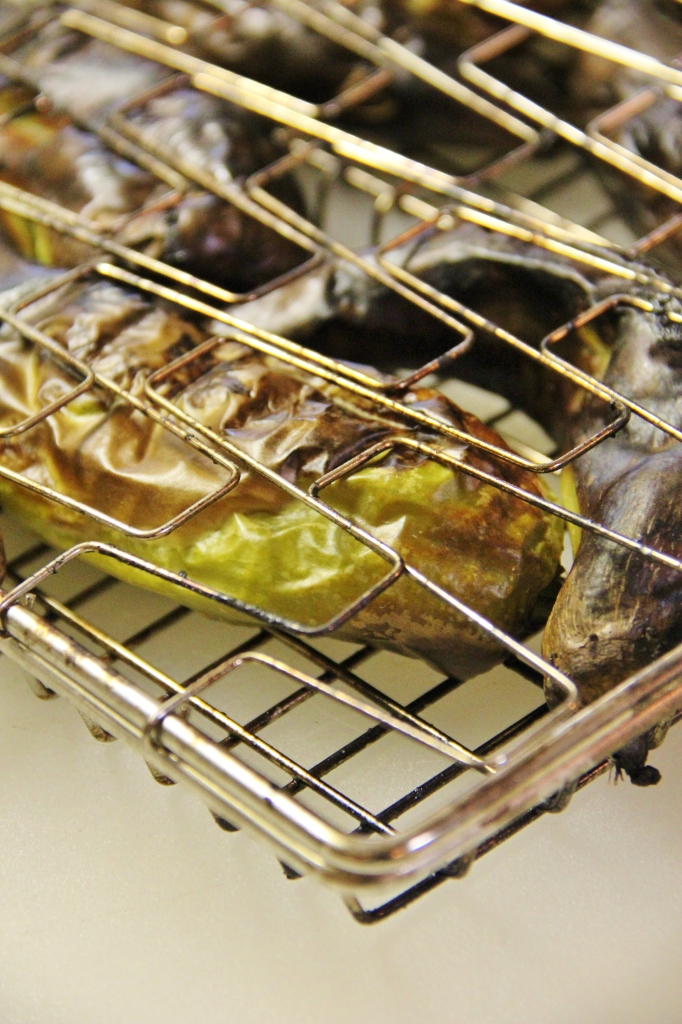
Using tongs, remove chiles from basket and place in a heavy duty zip top baggie (or a glass bowl covered with plastic wrap). This loosens the skin for easy removal. Let sit for about 15-20 minutes.
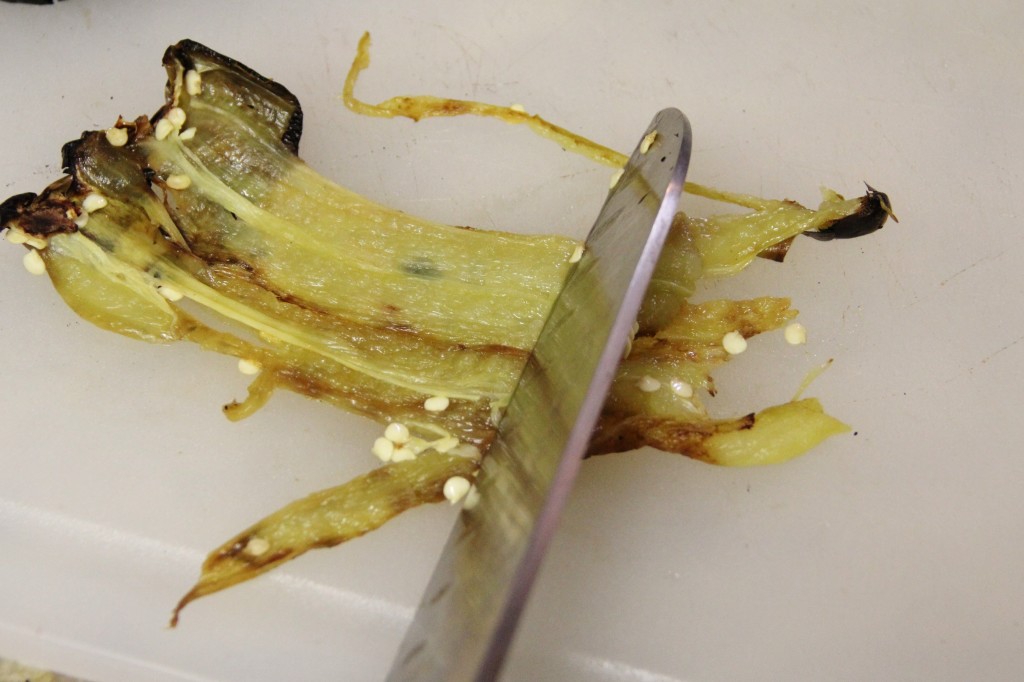
Once cool, cut off the stem end. Slice down the middle and remove seeds and veins. Flip over and remove the skin. Roughly chop or slice the chiles. Place in zip top baggies and freeze for future use. Freeze in small snack-sized baggies in amounts similar to what you would normally use in a recipe.
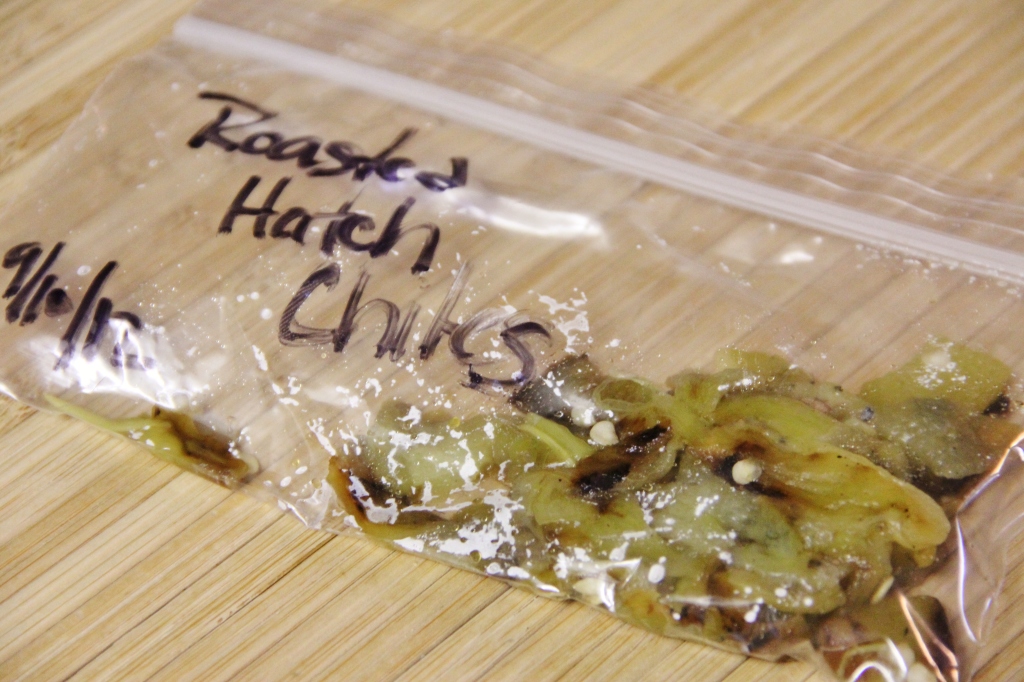
**If you have sensitive skin or worry about the chile juice, use gloves to protect your hands.**


My father used to do this but so far I haven’t tried it. I guess I should! lol
TY for this chilies are very good for you.
always wanted to learn to roast green chilies
Thanks for your excellent article about the making process of Green Chile’s Roast. Really i wish to learn and make it in my house.
I am pinning this… we love green chiles at our house:)
Thanks for the pin!
Mmmmm they look good and yummy!
Yummy! Thanks for the tips!
Mmm! Love those chilies! I need to get me one of those grill baskets, what a great time saver!