This post may contain affiliate links. Please read my disclosure.
Hi everyone! I’m Aubrey and I’m so excited to be here at AMFT again this month! I blog over at Real Housemoms, with my friend Stacey, about food, crafts and family. We have so much fun and would love for you all to pop on over and hang out with us too! Here at AMFT I get to blog about gardening and I love it. I live in Arizona so we usually have a couple of growing seasons. I have to admit to you all that right now my garden is not happy with me. We just found out that we will be moving to Portland, Oregon for my husband’s work. We’re so excited for a new adventure. One of the reasons is because I know that there are a lot of home gardeners up there. I’ve seen so many pictures of wild blackberries and backyard berries that I can’t wait to start again and learn about gardening up there. With that being said, my garden here is rough! Temps are VERY high, around 120, and the only thing that has made it without my sunshade this year is my jalapeno plant. Go figure, right!
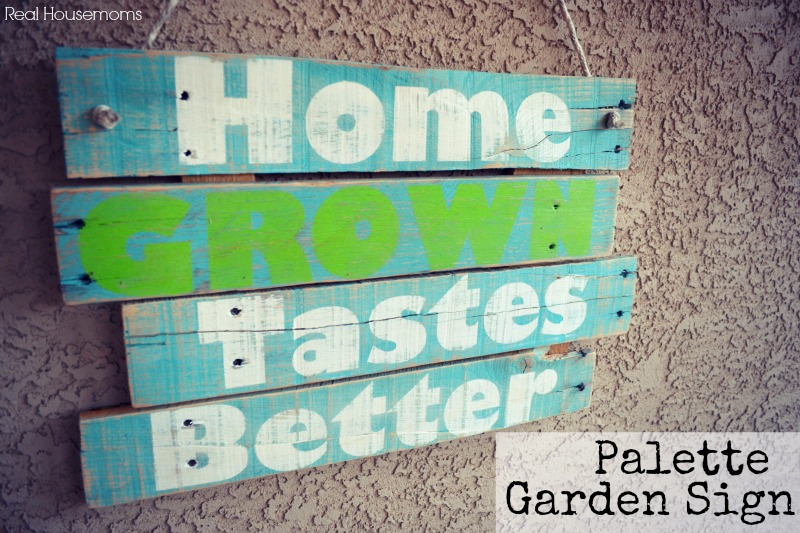
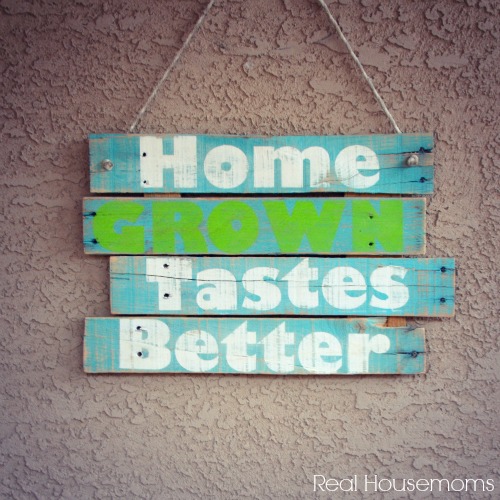
I thought that this month I’d bring you all a Palette Garden Sign. I’ve had this palette sitting on the side of my house for months. There are so many cute things to do with them that I could decide WHAT to do. Then my husband told me that I wasn’t going to be able to bring it. I’d just have to get another one up in Portland. That was the push I needed. I love the way the boards are aged and cracked. I wanted the sign to look weathered from sitting in a garden. We made this to hang on the rope you see but once I’m up there and I’ve laid out my garden I think that I’ll attach it to a steak and put it in the ground near the entrance to my garden. I’ll have to share that with you later.
This was so simple to make! My husband helped me on this one. It wasn’t hard to do, I think he was just excited to be using the palette finally. 🙂 We used a pallet, some nails, acrylic paint and sand paper. The short version is that we popped the boards off of the palette and cut them down to the length we wanted, painted, stenciled, nailed them together and hung the rope. See nothing to it. Alright, ready? Here we go.
Start by using a hammer or rubber mallet to remove the slats from the palette, being careful of any nails, especially the rusty ones. Don’t worry if your boards crack or break, it just adds more character. My last board split and I used wood glue to put the pieces back together just long enough to paint and then nail it all together at the end. Decide how long you want your boards. I did mine 20 inches long and I’m really happy with the size. Using a saw cut down the slats to your desired size.
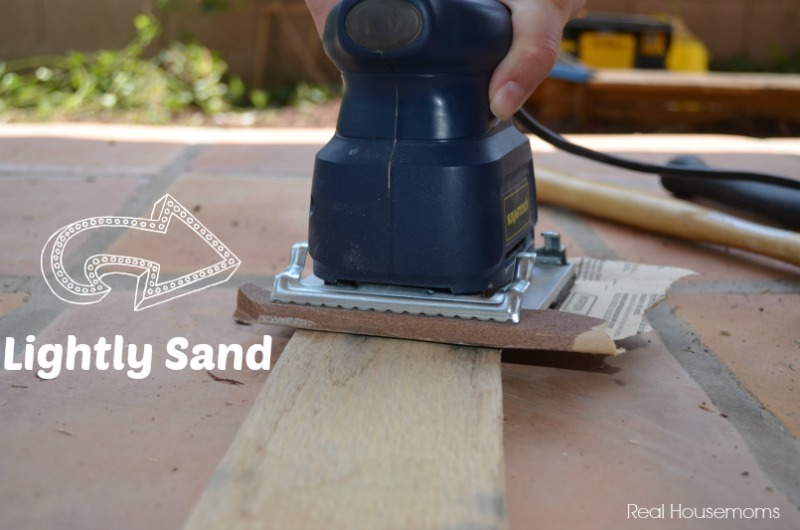
Once you’ve cut your boards down, quickly run over them with some sand paper, just enough to take off the rough pieces and splinters. Make sure not to make the wood too smooth because you want them to be rough, just not too rough. It’s not an exact science, just do it till you like what you see and feel.
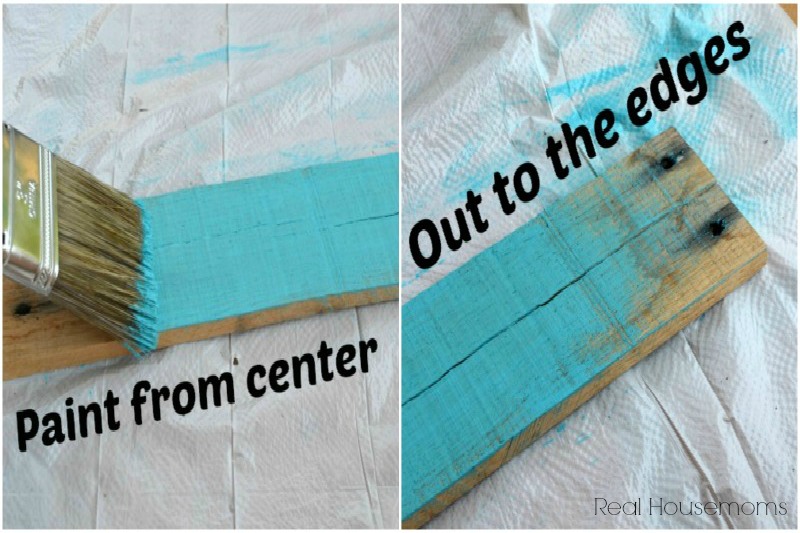
Then using a dry brush, apply your base color paint. Dry brushing just means to use very little paint on your brush so that it’s almost dry. I start by putting paint on my brush and dabbing off as much as I can on my paint plate or a paper towel. Then I start in the center of the board and move out to the ends. When aging you will remove more paint on the edges so this way the center has the even coat and the edges have less. I still made sure that paint was applied all the way to the edges, but not as thick as in the center. The paint color I used for my background was 2710 Calypso Sky from Folk Art. Once the paint has dried, run your sander over it to distress the paint. I spent more time on the edges and corners so that I could see more of the natural wood coming through. 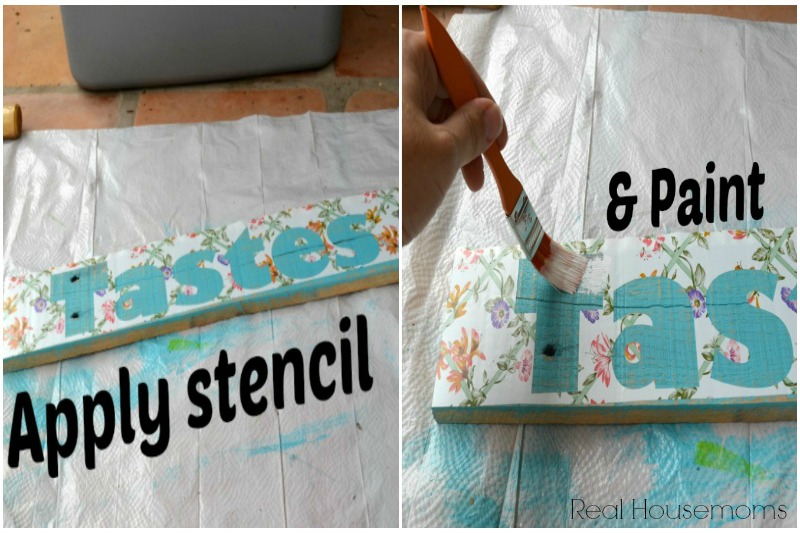
Now you will apply your stencil and paint on your letters. We used “Home GROWN Tastes Better” I know that Homegrown is actually one word, but I used some creative license and split them for spacing sake. I went with a simple font Gill Sans Ultra Bold. I’m pretty sure that it just came with my Windows computer. I then used my Silhouette to make the stencil but that wasn’t necessary. If you don’t have a stencil cutter you can simply print out the words in Microsoft Word or any program that you use. I used to make my own stencils this way. I would print each letter individually and then cover the paper in painters tape on the back. Then I would cut out the letter using an exact o knife. It may have been over kill but I feel like it kept the paint from spilling through. With either method you want to apply very little paint to your brush and stipple (dab) the paint around the edges of the stencil letters. Then fill in with the paint. Apply two coats of letter paint to make sure that the blue isn’t showing through. I used white for all the words except GROWN. For that I used 2708 Apple Orchard also from Folk Art. Once the paint is dry you will use your sander to sand down the lettering to age and distress it. You can do as much or as little as you like. It’s all up to you.
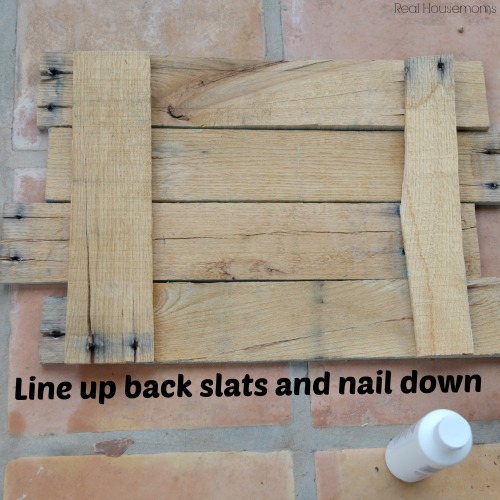
Next, use two of the ends of the slats that you cut off at the beginning to nail all the boards together in the back. We used a nail that wouldn’t go through the front, size 17 x 7/8″. Space them out slightly and also shift them left and right so that it isn’t perfect. I think it adds to the rustic cuteness. Be careful when hammering in your nails. The wood may have a tendency to split. We used two nails per slat on both the left and right sides. That way we knew that it was secure. 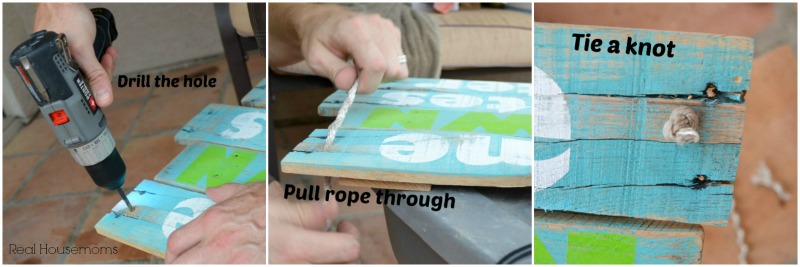
The last step is the rope. My husband found a piece of rope that wasn’t being used and we ran with it. I marked the location for the holes to be drilled and he drilled. What’s gonna work? Teamwork! Yes…yes I am a mom. 🙂 Push the rope from behind and then tie a knot in the front of the sign. I liked it best this way but you could always hide your knots in the back. Like I said, we have talked already about attaching it to a steak and posting it just outside of the garden when we move. I found a house with the cutest garden with a picket fence and archway covered in vines. So cute!!! Get creative with your sign. Talk with your kids and come up with a sign that sums up you and your family’s philosophy about your garden. The kids can even help with a lot of this project.
I would recommend spraying this with a Polycrylic protective finish if you will have it exposed to sun and rain. I would spray the entire thing so it may be easiest to spray after painting but before you attach the slats. Be sure to get the back and the back slats as well.
I love projects that express a families personality and when you can make them out of things you have lying around the house they’re even better!!! What phrase sums up your gardening philosophy or style? Have fun, get creative and have a sense of humor! See you guys soon. 🙂


What a great way to make use of an old palette! The result is so rustic and pretty. I’ll have to try this for my garden!
this is beautifully crafted
This is something I will probably do because I love outdoor things and signs or decor for my yard and house. Thanks for sharing.