This post may contain affiliate links. Please read my disclosure.
Hi everyone! I’m Marly, from Namely Marly. When Wendy asked me to write for her on AMFT she asked me to share a frozen treat recipe. First I did my happy dance, and then I immediately starting contemplating what I would make. I thought over a thousand ideas on frozen treats, but none of them seemed like “the one”. Talk about brain freeze!
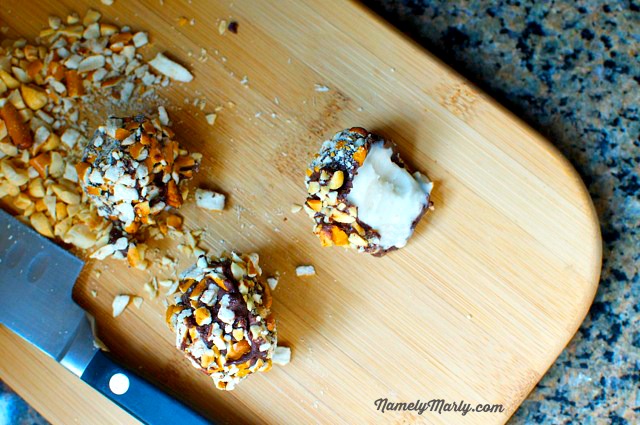
And then one day I was in a bakery and saw a tray of banana chocolate chip muffin tops. I licked my chops looking at that tray. Is there anything better than a muffin top? Nothing but crunchy topping everywhere you look. Well, now that I think about it, muffin tops and jeans are not a favorite combination. Maybe we should stick to the kind that come in the bakery. So as I was looking at the tray of muffin tops at my local bakery, I thought back to my favorite frozen treat as a child. Vanilla ice cream in a waffle cone with a chocolate coating and chopped peanuts on top. That’s right…the drumstick.
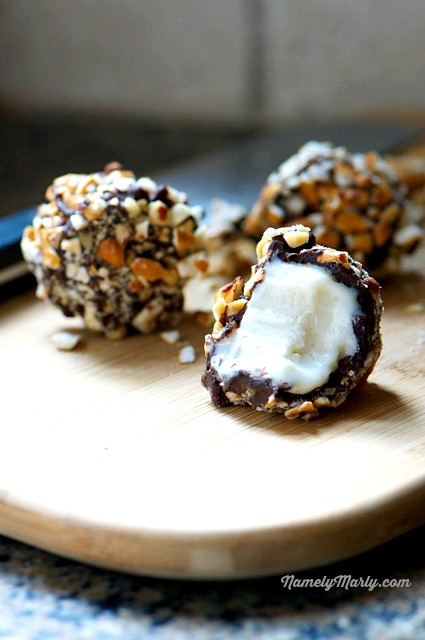
And that’s when it hit me. Muffins and Drumsticks have something in common. The best part is at the top!
The problem, I realized, was that the Drumstick has been slighted in this whole deal. The muffin has a muffin top, but not the poor drumstick. Doesn’t it seem only fair there should also be drumstick tops too?
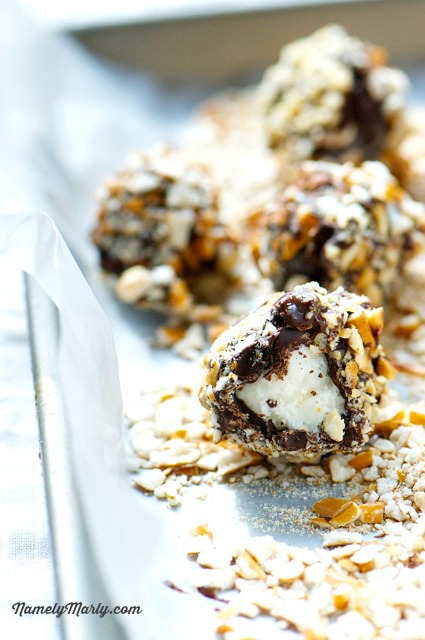
In order to make these frozen treats a little easier to eat, I reduced them to bite-sized portions and so that’s what we have – Frozen Drumstick Bites. Now you get the goodness of a Drumstick without the hassle of working your way through the waffle cone. This recipe is vegan and gluten-free and still manages to be absolutely addicting.
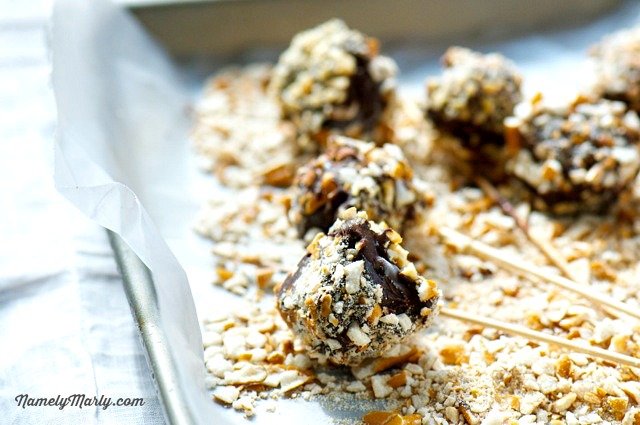
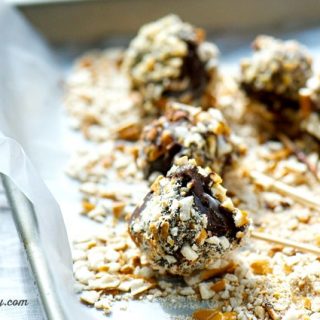
Frozen Drumstick Bites | dairy-free ice cream
These frozen drumstick bites are a dairy-free and gluten-free bite-sized version of the popular frozen dessert cones!
Ingredients
- 1 pint vanilla vegan ice cream (I used Soy Dream Vanilla)
- 1 cup dairy-free, dark chocolate chips
- 3 - 4 tablespoons coconut oil
- 1 cup gluten-free pretzels
- 1 cup roasted peanuts, chopped
Instructions
- Set the ice cream on your counter to soften. In the meantime find two small pans that will fit in your freezer, like a cookie sheet or small cake pans, and tear off two pieces of waxed paper to cover each pan. While you're at it, you might want to rearrange some things in your freezer to make room for the pans to sit flat and safely in the freezer.
- Using a melon baller or a small ice cream scoop, create small balls of ice cream and place them on the first prepared pan. You don't have to be exact here - because working quickly will be important. When you reach half-way down the ice cream container, place the first pan in the freezer. Continue creating ice cream balls and placing them in the second prepared pan.
- When you're all done, place that pan in the freezer as well.
- Once the ice cream balls have firmed up (at least 30 minutes, but preferably an hour or more) you're ready for the next step. Place the chocolate chips in a microwave-safe bowl. Spoon 3 tablespoons of coconut oil over the chocolate chips and stir until all the chips are well coated. Microwave for 20 seconds, remove and stir, and repeat until the chocolate has melted. Set aside.
- Place the pretzels in a plastic bag and use a rolling pin to crush them into large crumbs. Pour the pretzel crumbs onto a small plate.
- Create a little work station that has room for the pan of frozen ice cream balls, the bowl of melted chocolate, the plate of pretzels and the plate of chopped peanuts.
- Remove the first pan of frozen ice cream balls and place in your prepared work station. Insert a toothpick into the middle of one of the ice cream balls to pick to pick it up and dip it in the melted chocolate. Turn the ice cream ball quickly in the chocolate so that each side becomes coated, but not the bottom. Roll the wet chocolate coated ice cream ball in the crushed pretzels and place back on the pan with the rest of the uncoated ice cream balls. Working quickly, repeat this process until all the ice cream balls are coated. Place in the freezer to firm up. Remove the second pan of ice cream balls and repeat this process until each one is coated witch chocolate and pretzel crumbs. Place the second pan back in the freezer and wait about an hour for them to firm up.
- Once the ice cream balls have firmed up, add another teaspoon or so of coconut oil to the chocolate mixture and heat in the microwave for about 10 seconds to re-melt the chocolate. Stir to combine. Remove the pan of ice cream balls and this time you can use your fingers to grab one chocolate dipped ball at a time and dip the uncoated side of the ball into the chocolate until coated. Dip the wet chocolate end in the chopped peanuts and place back on the pan covered with waxed paper. Working quickly, repeat until all the ice cream balls are coated. Place the pan back in the freezer to firm up. Remove the second pan of ice cream balls and repeat this process until each ball on the second tray are coated.
- Once both pans of drumstick bites are nice and firm, place them in a lidded container (or freezer bag) and store until you're ready to serve.
- If you have any leftover chocolate sauce, crushed pretzels and/or chopped peanuts, these make a great topping for your next bowl of ice cream!


This is brilliant! All the flavor of a drumstick but easy to make at home.
What a fun neat idea, I remember loving these things when I was a kid.
My kids really like this.Thanks for sharing.
These look so yummy!
These are so perfect for summer!
I am in LOVE! I can see how these would be dangerous!
Thanks so much for the opportunity to be your guest poster. It’s good to play outside of your own sandbox sometimes. Is that a book? If not, maybe we should write it!
I’m a drumstick fanatic and these look divine!