This post may contain affiliate links. Please read my disclosure.
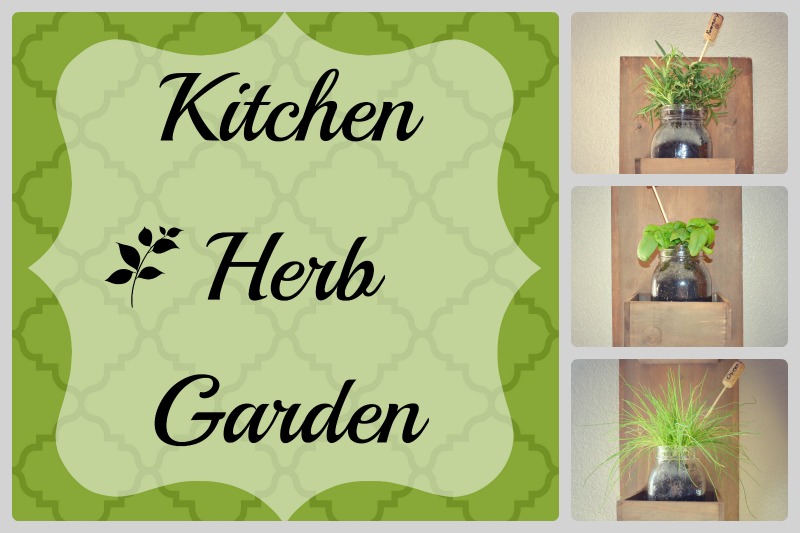
Hi, I’m Aubrey and I blog over at Real Housemoms with my friend Stacey! We are both moms that love to cook and do simple crafts and DIY projects. I’m so excited to spend some time with you all over the next year blogging about gardening. I started my garden about a year ago after some false starts over the last few years. I love being able to grab ingredients for my family’s meals straight from my backyard. I’m fortunate that I live in Arizona and we have two growing seasons, spring and fall. I have even learned of some ways to keep things living and producing during the summer when it hits 120 degrees. Yikes!!!
I don’t know about you, but I get a lot of inspiration in Target’s dollar section. I usually have no intention of getting more than one item but once I start looking in the dollar section I find I’m walking back to get a cart and then filling said cart with LOTS of inspiration. 🙂 I found these unfinished wooden boxes in the dollar section one day and I’ve had so many ideas for them ever since. I actually ran out of the boxes and now want to return for more but I’m afraid I’ll come out with more than just the boxes.
It’s March and here in Arizona that means Spring. Our Spring doesn’t last as long as it does in other regions but we do have a quick one. It is my favorite season here in AZ. The weather is warm but not too warm (that comes later) and the desert is actually green. Most people don’t realize it but there is A LOT of plant life in the desert. When Spring rolls around it almost looks like a grassy field with lots of alien plants. It’s pretty neat! We have two growing seasons here, so we’re pretty lucky. I grew up back east and moved here about 8 years ago with my husband and I miss the green back there. That’s one of the reasons I love my garden, it adds so much green to my yard. I also love to have lots of plants in my house. I was talking with Casey, my husband, and realized that for all the time I spend in the kitchen I didn’t have any plants in there. So…… why not use my neat wooden boxes to bring some green in? Because my little garden will be in the kitchen I decided it would be herbs. What cook doesn’t love a great herb garden? I have a really cute one outside (I’ll share with you all later) but I wanted some of my most used and hearty herbs inside. This project was super easy and VERY inexpensive to make!
For this project I used 3 unfinished wooden boxes, a piece of wood 41″ long, 6 screws & matching nuts, a picture hanging kit, 3 mason jars, 3 sprouted herbs of your choice, potting soil, and gravel. I also used the oxidation wood stain (found below), black tea and #0000 steel wool.
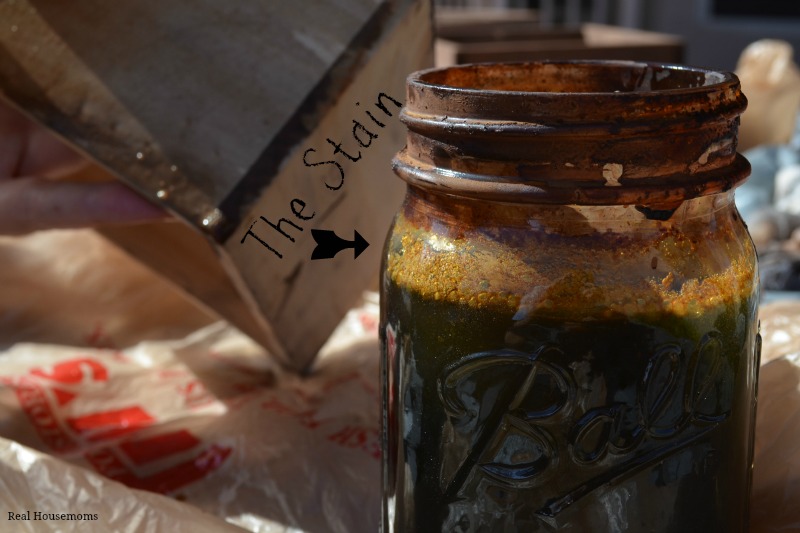
I’ve been seeing all kinds of different posts on Pinterest showing how to stain wood so that it looks old and weathered. This one looked the most promising so I decided to give it a test and I was so happy with the results. You can click over and take a look at the time lapse photos that she took and it’s very easy to make the stain. You’ll want to get #0000 Steel Wool (found in the paint section) and tear up a hunk of it and place in a glass jar, then fill the jar with white vinegar, let it sit for a few days while the steel wool oxidizes (rusts) and dissolves. Just take a look and shake it up every once in awhile.
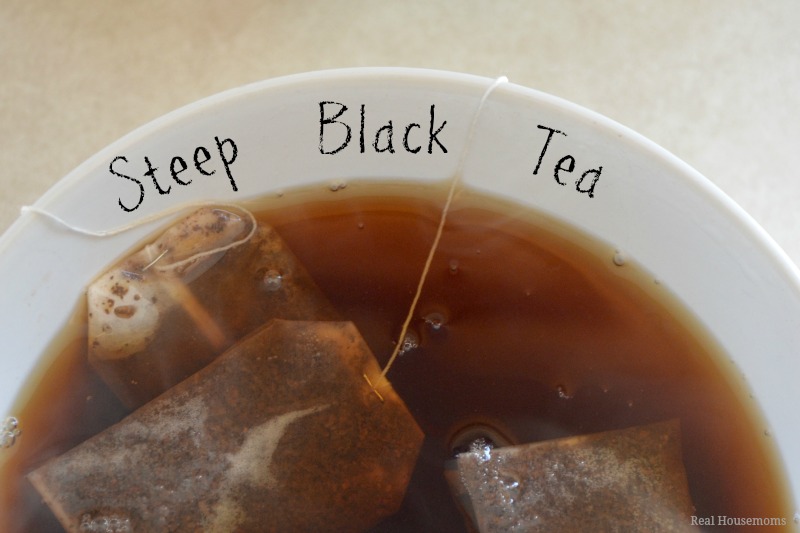
Once your stain is ready you’ll steep some STRONG black tea. I put four tea bags into a bowl and poured the boiling water on top and let it sit for at least five minutes. This is supposed to help develop the color of the stain. I did a test of the stain without the tea and with it and I liked the color better with the tea. It had a deeper color and had less of an orange undertone.
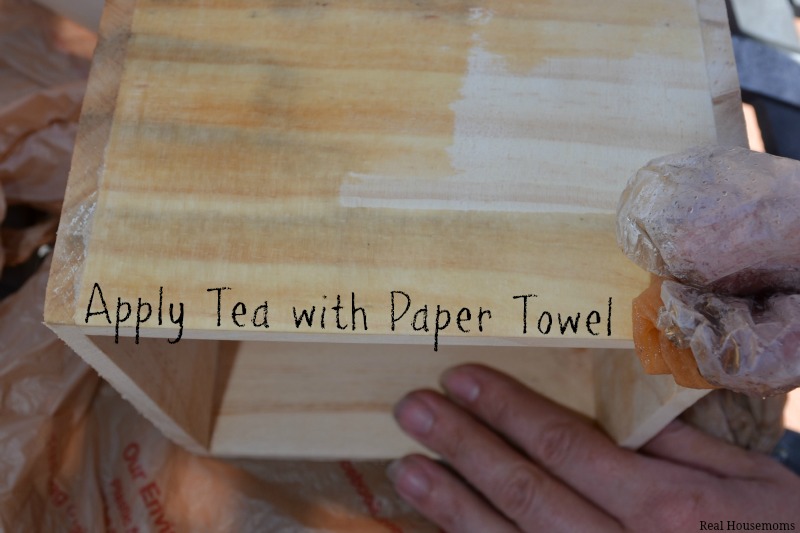
I applied a single coat of the tea to my box, inside and out as well as the bottom, using a paper towel. You won’t really see a big color difference as it dries but don’t worry. The tea is adding tannins to the wood that will help to develop a great color later. Once you’ve applied the tea everywhere let it dry completely. I did this on a sunny day outside and it dried really fast.
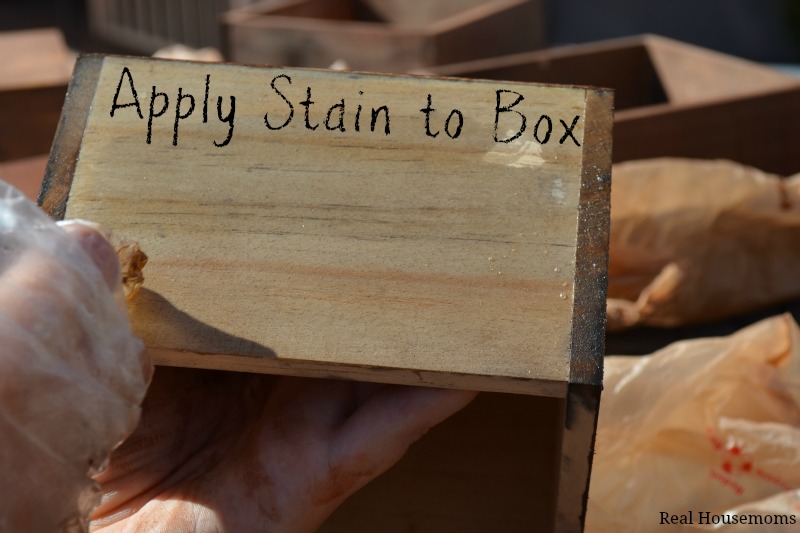
Once the tea is completely dry you’ll apply the stain. I used a paper towel for this also. I HIGHLY recommend wearing latex gloves for this. I used simple plastic gloves and it went right through and stained my fingernails! ( If that happens to you just make a paste out of baking soda and hydrogen peroxide and let it sit for 15 minutes.) You don’t need to apply a lot of the stain. Make sure that the wood is absorbing the amount you’re applying and it’s not running or bubbling anywhere. If you look at the picture above it looks very light. Don’t worry, this is normal. Within minutes you’ll see a dark color start to develop right before your eyes! I found it was easiest to do the outsides and the bottom, then once those had dried, flip and do the inside also.
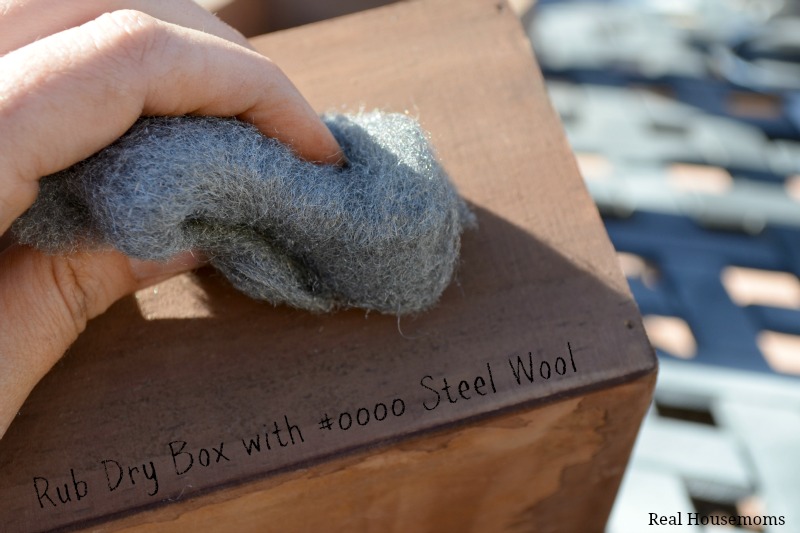
Once the wood is dry I rubbed it with a new piece of the #0000 Steel Wool. This really just evened out the color. Be sure to be outside for this. I had a lot of steel glitter all over the place when I was done. 🙂 Repeat these steps with the 41″ piece of wood that you will attach the boxes to. Don’t forget to stain the edges as well.
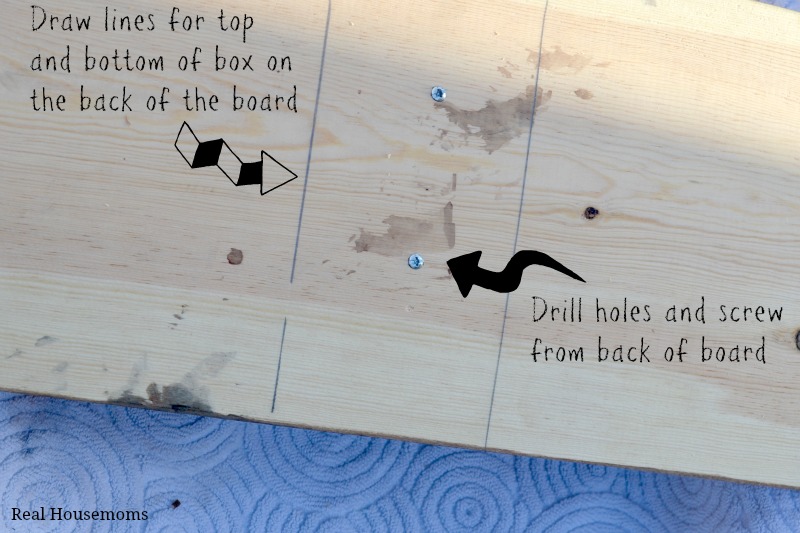
Once everything is dry lay out the boxes where you want them and tape around so you can see where you want the top of the box when you flip over the wood. Lay the box out and use a pencil to trace out the top and bottom of your boxes. Make two horizontal holes with the drill in the center of the box. Then hold your box to the holes and mark them on the box so you know where to drill into the box. Remove the box and drill holes where you marked. Line up the holes in the board and the box and fasten the screw and nut to make sure it’s secure. Repeat for all three boxes.
Follow the instructions on your picture hanging kit. Be sure that the kit you use is rated for the weight. I used a wire hanging kit and it’s worked out well.
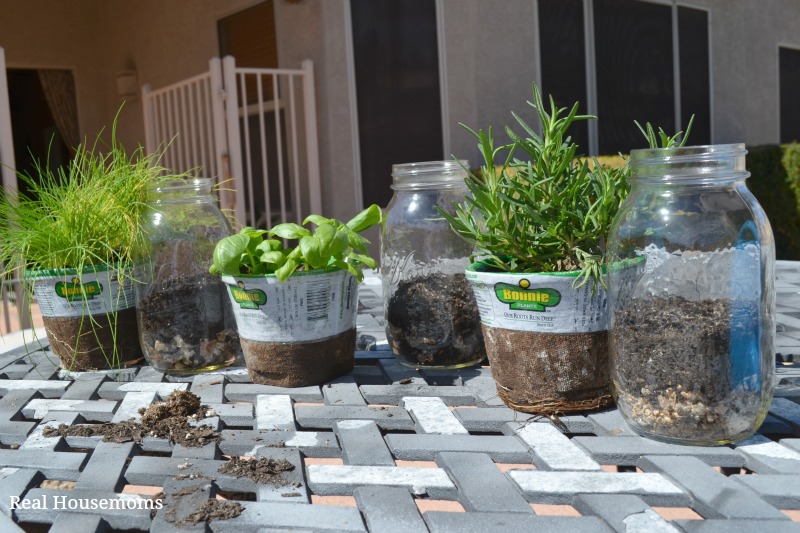
I bought the large sprouted herbs from the hardware store while I was there but if I were to do this again I would just get the potted herbs that you find in the grocery store now. They are in a smaller pot and would probably be an easier fit for the mason jars.
To start I put about an inch of gravel in the bottom of the jar then potting soil and then my herb. Mine were too big so the chives had to be halved and the basil and the rosemary were smashed to fit but they’re still living. 🙂 Herbs want full sun so be sure to find a location for your garden that will get sun. I like this idea because I can easily take the jars out of the boxes and move them to more light if they aren’t getting enough sun. I had a lot of ideas for labeling the herbs. Chalkboard label on the box, paining the jar lid with chalkboard pain and so on but I finally settled on the name written on a wine cork and stuck on a bamboo steak.
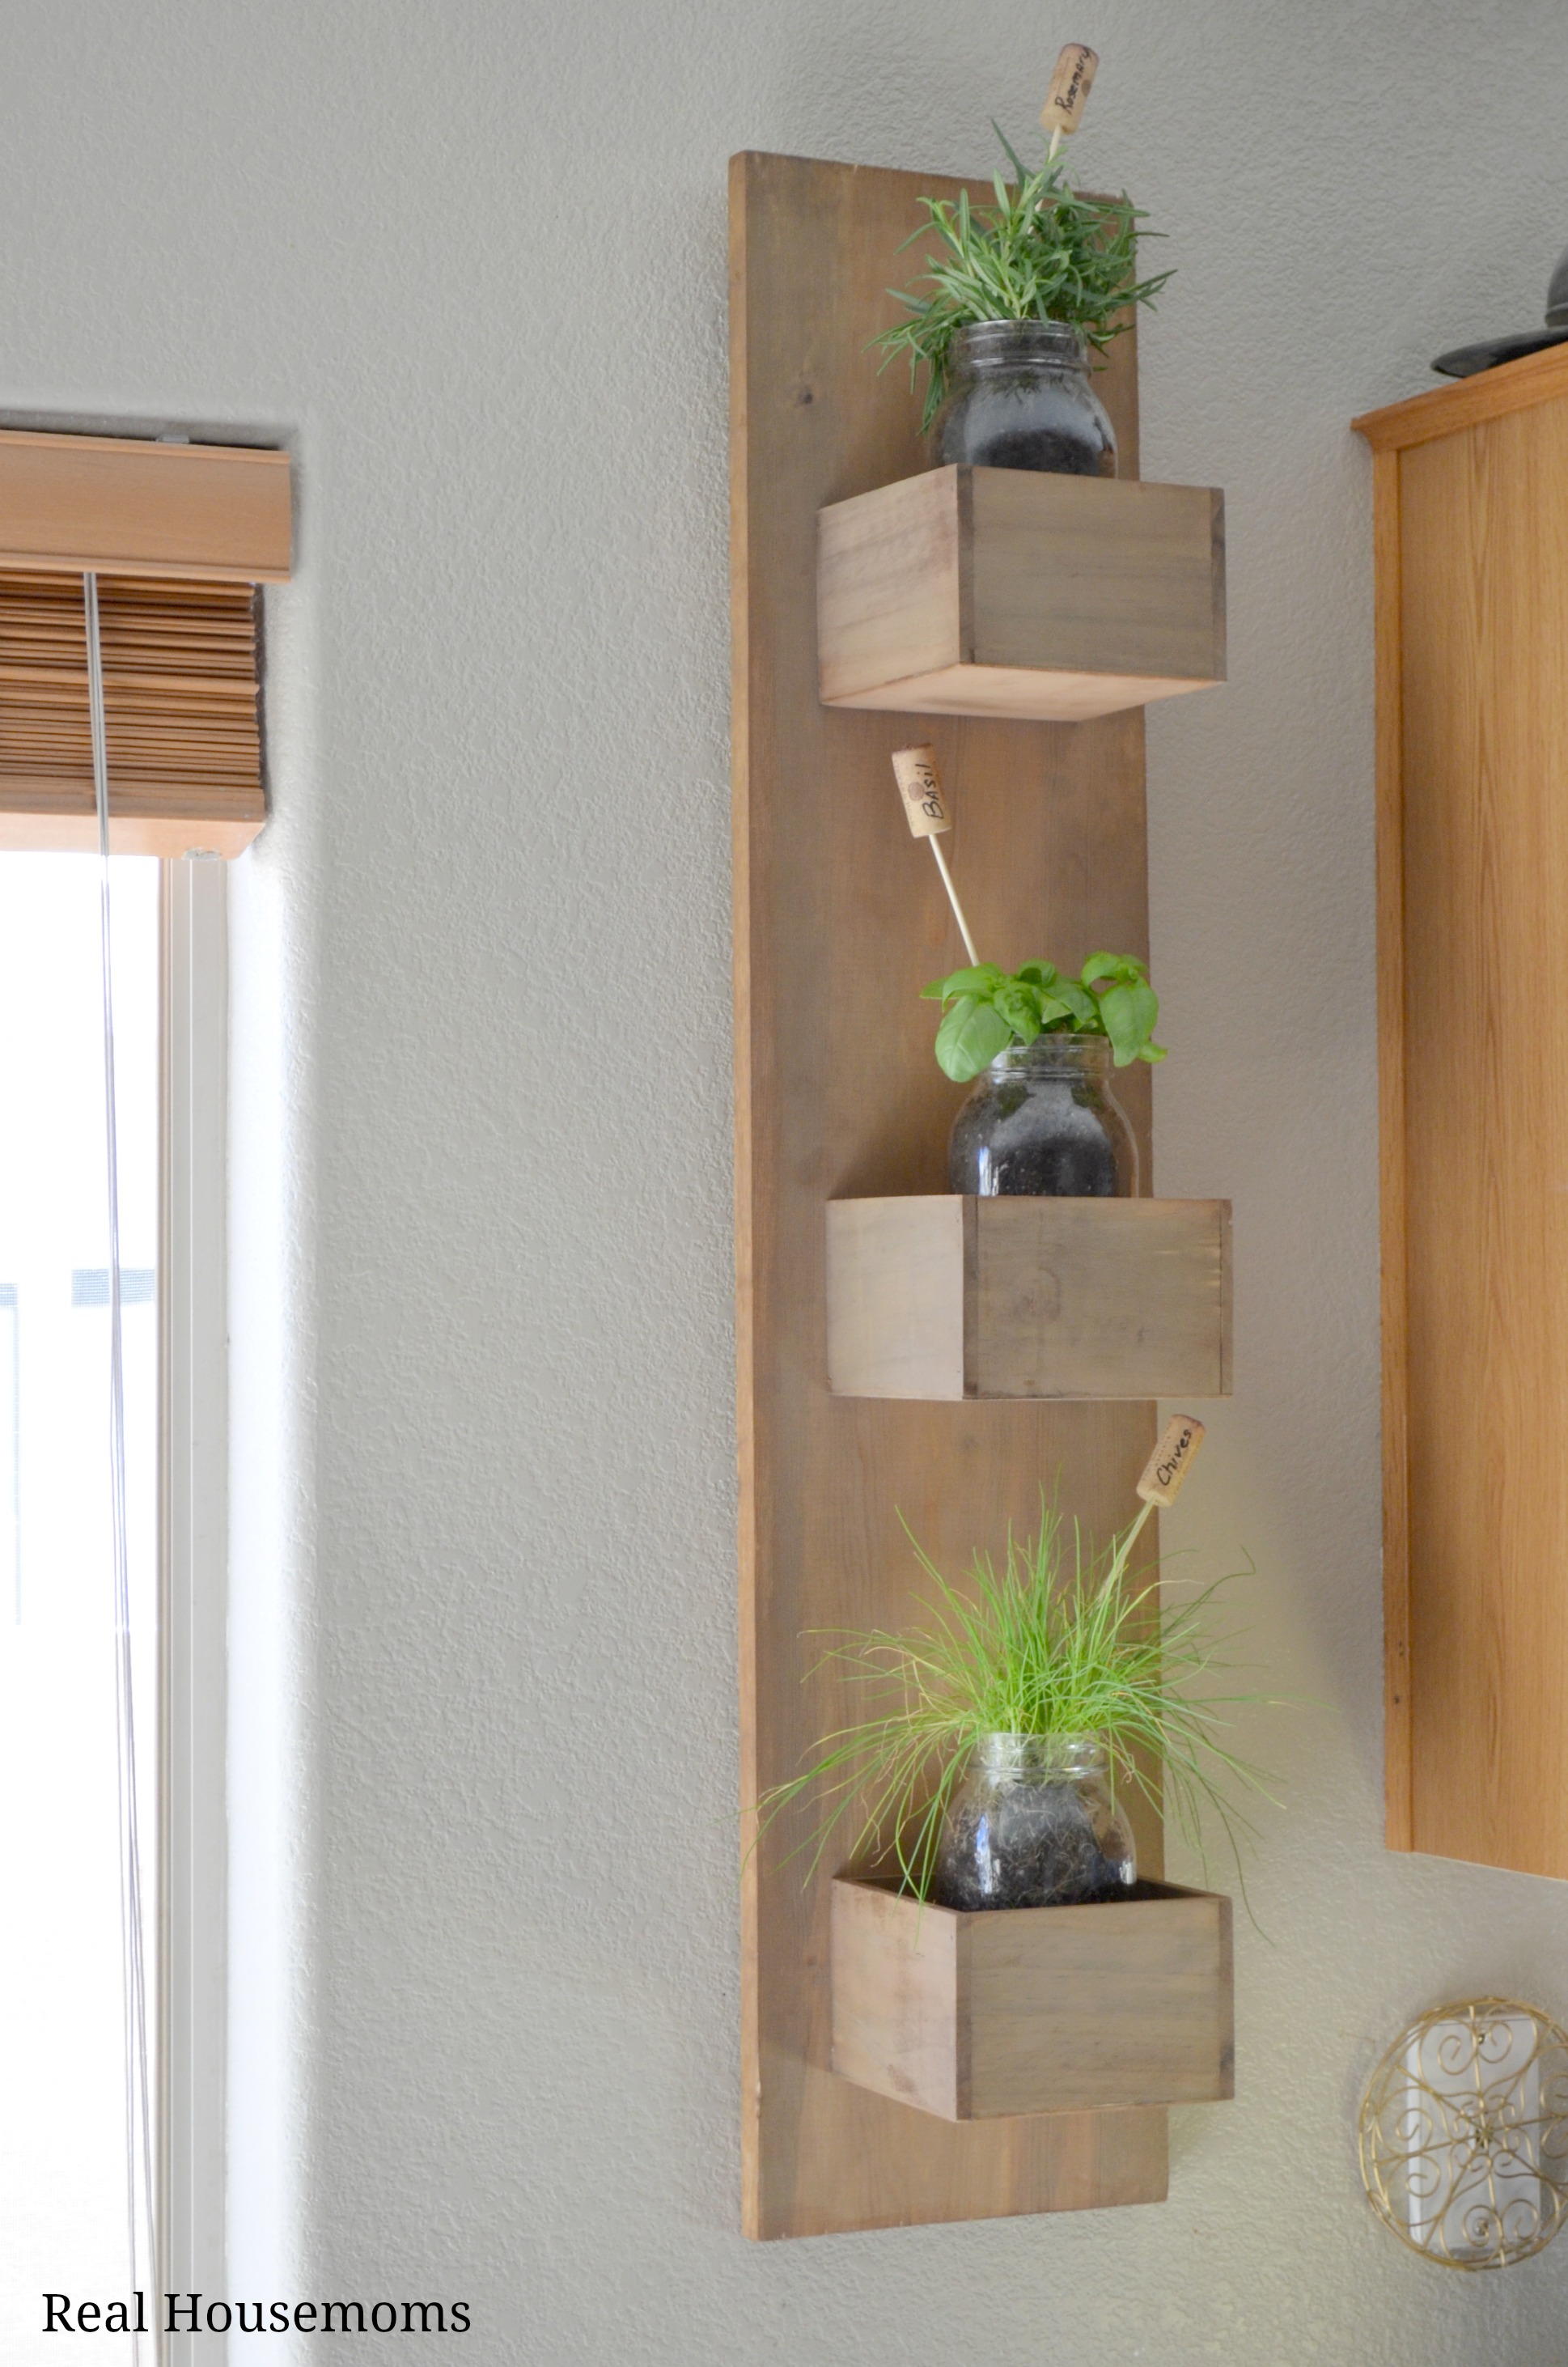
So this is my little herb garden. Even with all the pushing and smashing that the poor guys went through they’re still alive. If this is your first herb garden I would recommend starting with hearty herbs like basil and rosemary. The chives seem pretty sturdy too so you would probably be safe planting those as well but also make sure that you are planting herbs that you will use. That’s 90% of all the fun, being able to just run to the wall and grab the fresh herb that you grew! Have fun and let me know what herbs you grow. 🙂
You can find Aubrey here as well: Real Housemoms, Pinterest, Facebook, Twitter


Hey! I just stopped by to check out your post for my Herbs and Container Gardening Roundup and I LOVE this idea! I love how you stained your wood with tea. So cool!
Thanks Vicki! 🙂
What a great idea. Never thought of staining wood with tea before but I love the result. Gonna have to give this a try in my kitchen. Thanks so much for sharing!
Aubrey, I love how this turned out! I don’t have any herbs growing, but love to use them. I think I’m going to need to check Target for some of those wood boxes.
What a cute idea!
I could use this for my composting pigs–they tend to get annoyed in the winter when their fresh herbs are sadly lacking.
I’m currently re-growing celery and scallions on my kitchen window.
Thanks, Wendy and Aubrey!
Love this…I’m definately going to try this! Thanks
Such a cute idea, there are tons of herbs I want to try but its too hot in my area and they go to seed too soon.
You might want to keep in mind that rosemary grows HUGE. Its supposed to grow into a bush so it may need to be transplanted outside pretty soon. They’re pretty hardy though and should survive in most climates.
Other great herbs for indoors are mint, oregano, cilantro, and parsley. Mint especially because its really hard to kill.