This post may contain affiliate links. Please read my disclosure.
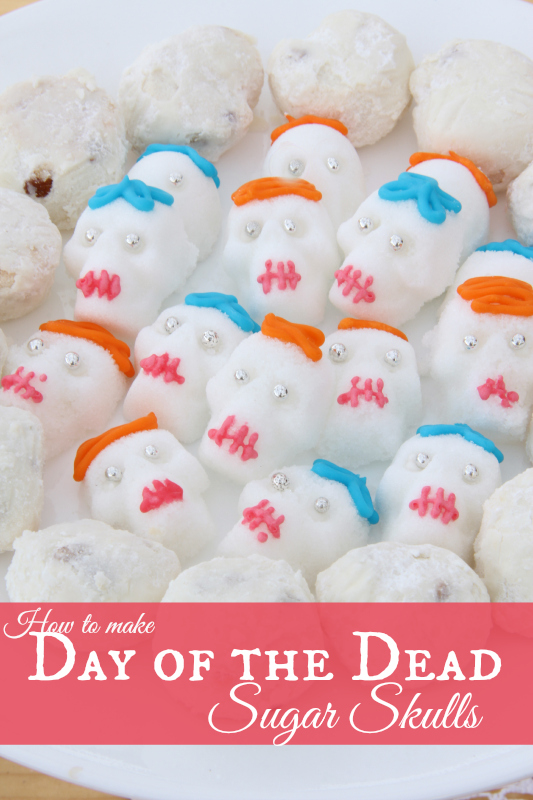
Sugar skulls are a traditional food served at Day of the Dead parties, so when I joined forces with some of my favorite bloggers for a Day of the Dead party I knew I had to make some.
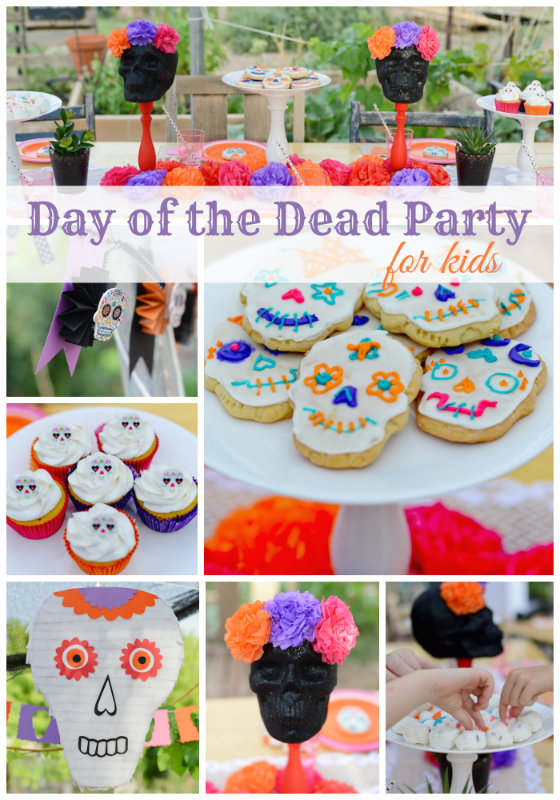
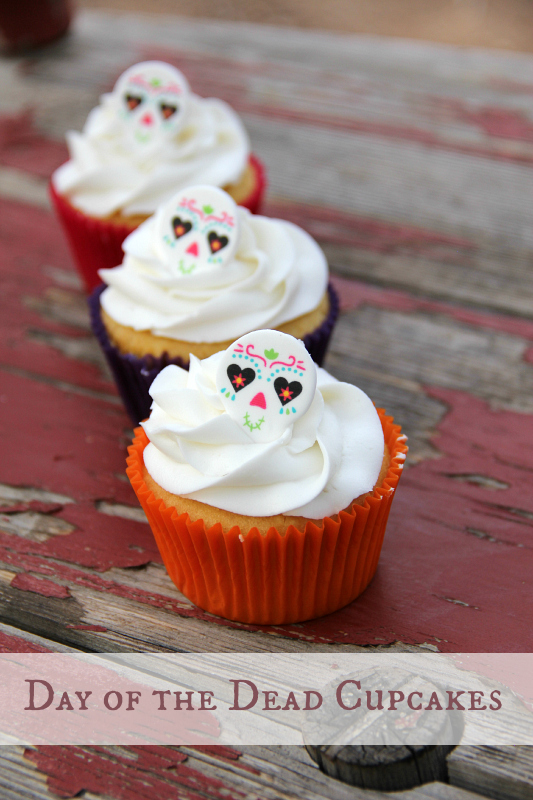
We had so much fun planning and preparing for our party. In addition to the sugar skulls, I made some fun cupcakes.
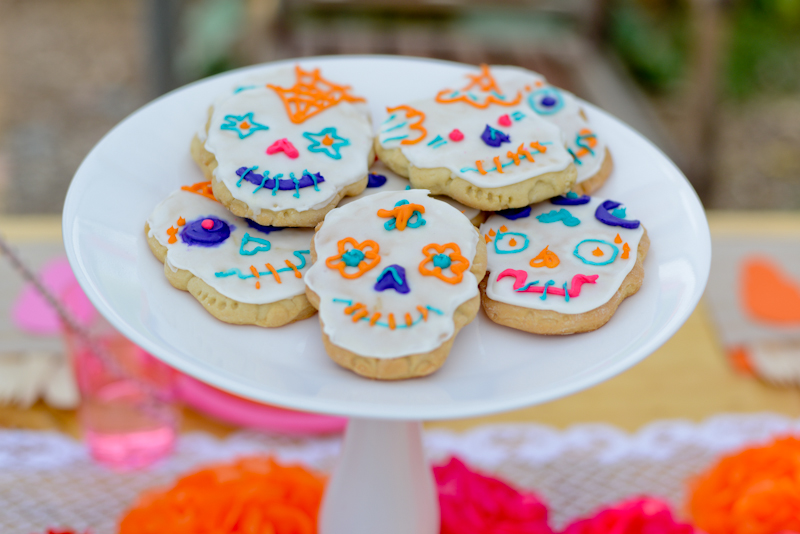
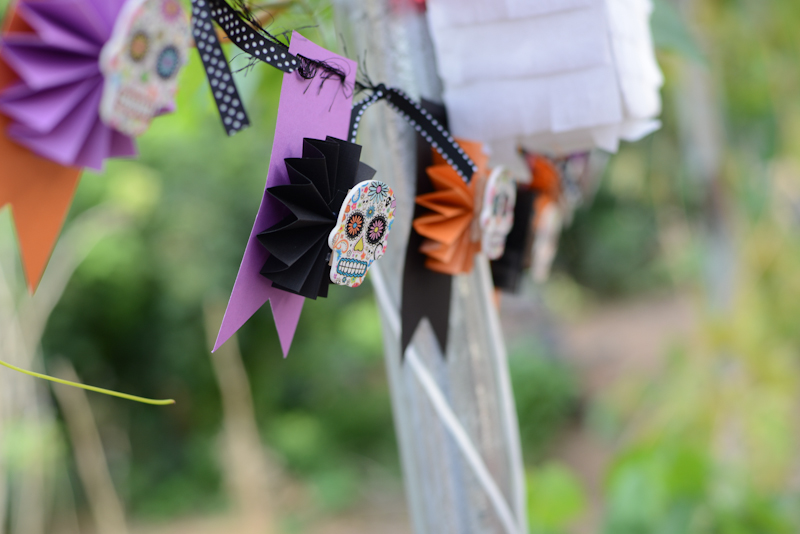
The Lolly Jane gals made these fun cookies and a banner!
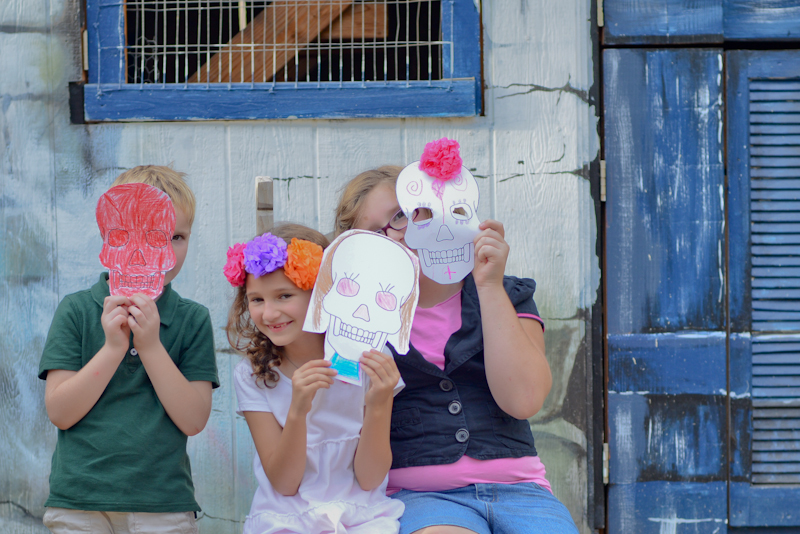
Kate from Songs Kate Sang made these adorable printable masks that the kids colored.
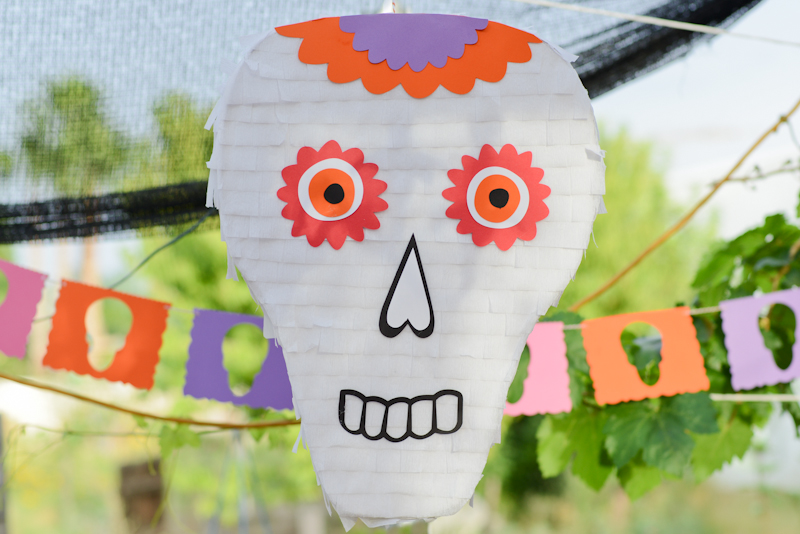
Kimberly from A Night Owl made the most amazing piñata, banner, and silverware holders.
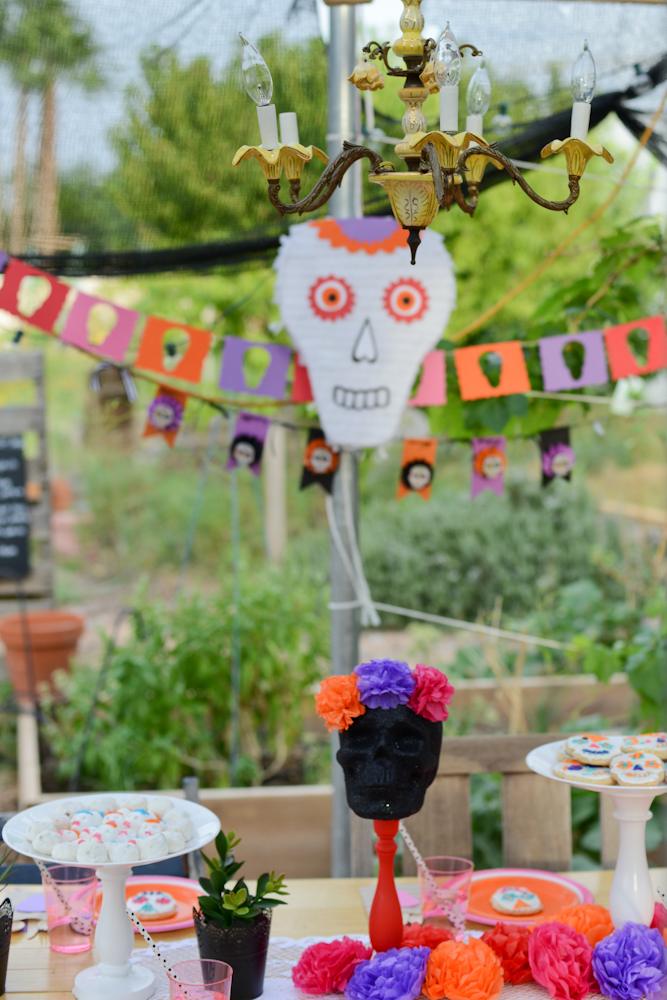
Lastly, Vanessa from See Vanessa Craft made the skull centerpieces and paper flowers.
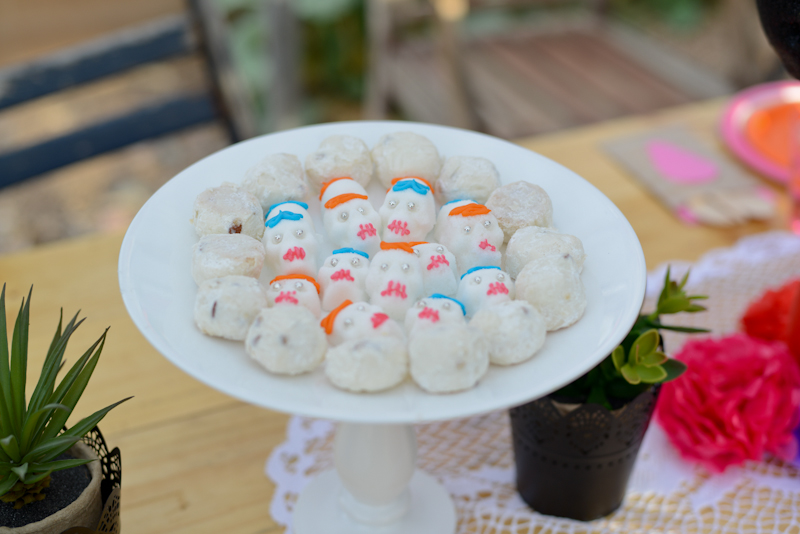
Everything came together beautifully. Now, let’s talk about these beautiful sugar skulls. I promise they are super duper easy. To make the pressed sugar skulls, all you need is sugar, water, and a mold. And to decorate you sugar skulls you only need a batch of royal icing. Use a good quality gel coloring to color the royal icing.
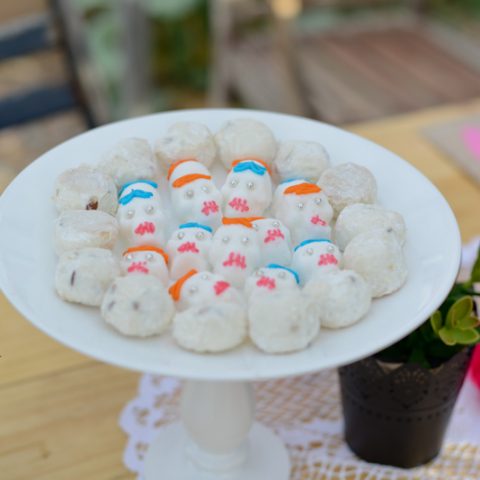
Day of the Dead Sugar Skulls
Sugar skulls are a traditional food served at Day of the Dead parties
Ingredients
- 1 cup sugar
- 1 tsp water
- Skull Candy Mold - I bought two so I could make them faster
- Royal icing - check out my easy royal icing recipe and tips
- Gel Food Colorings
- Piping bags
- piping tip #1 - you need a tip for each color to make it easy
- piping tip #2
- Silver or gold dragees
Instructions
- In a large bowl, combine sugar and water. Sugar will be slightly damp. Press damp sugar into molds, making sure the cavities are completely filled. Let the sugar dry for several hours in the molds (see why I wanted two). Then carefully turn over the molds and gently tap the sugar skulls out and onto waxed paper. Warning: these are not totally dry yet…use caution! Let the skulls finish hardening for several more hours or overnight. Repeat until you have the desired number of skulls.
- Prepare royal icing according to your recipe (or use my easy royal icing recipe). Divide icing into several bowls (however many colors you want, this is how many bowls you need). Keep one bowl white. Then add a couple drops of color to each bowl and mix. If the color isn’t dark enough for you, add another drop and stir. Go slowly to reach your desired color.
- Put each color in it’s own piping bag with either a #1 or #2 tip. Use the white to place a dot of frosting on the eye sockets and then quickly add silver or gold dragees. Once that hardens in place. Carefully pick up skulls and create designs on the heads of each skull using one or two colors. Swirl patterns, lines, etc…these are small so keep them simple.
- Check out my Royal Icing Tips if you need more help using royal icing. There is definitely a learning curve.
Get the details for the rest of the party from these talented gals:
Day of the Dead Skull Centerpiece from See Vanessa Craft
Day of the Dead Skull Pinata from A Night Owl
Day of the Dead Cookies from Lolly Jane
Day of the Dead Mask Printable from Songs Kate Sang
Day of the Dead Cupcakes from Around My Family Table
Day of the Dead Flower Headbands from See Vanessa Craft
Day of the Dead Party Ideas from A Night Owl
Of course with all these talented ladies, we were all snapping pictures, so photo credit in this post is from me and Songs Kate Sang. Thanks to A Night Owl for sharing pictures too!


Hi, looks awesome 😀 Do you use powdered sugar or just plane white sugar? Thank you.
Hi Kate, you just use regular ol’ white sugar. w-