This post may contain affiliate links. Please read my disclosure.
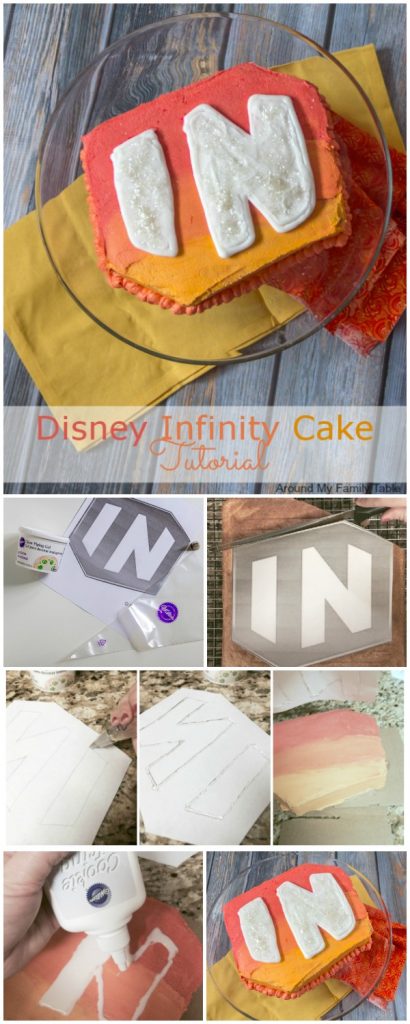
A friend asked if I would bring a cake to her Disney Infinity themed party! I was beyond thrilled that she thought my cakes were good enough for her Disney party! I thought it would be fun to turn the party cake into a easy tutorial for y’all.
Trust me, you can make this Disney Infinity cake…it’s super easy!
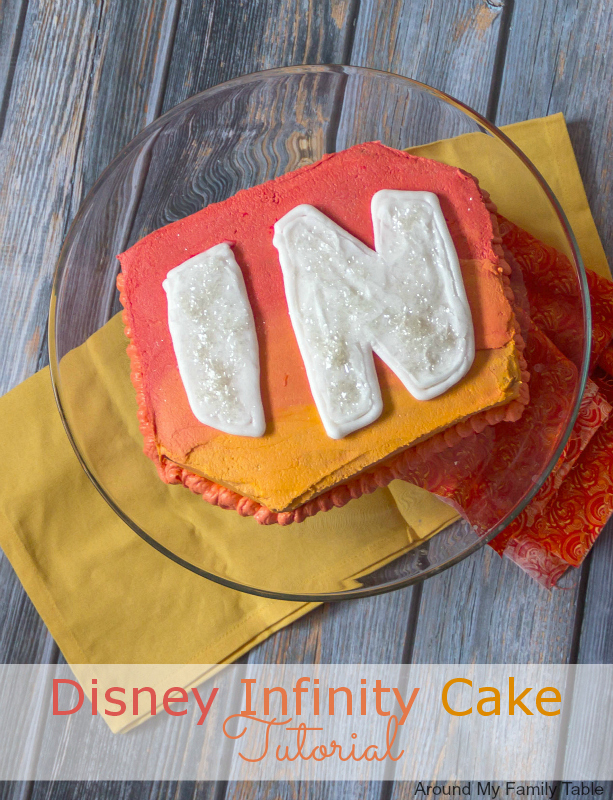
My family is new to the whole Disney Infinity video game system world so it was fun to create this cake. We got the system for the kids for Christmas and it’s become a fast favorite on the weekends. Is your family a fan? If they are or you are planning a Disney Infinity party then you need this Disney Infinity Cake Tutorial to help you create this amazing cake.
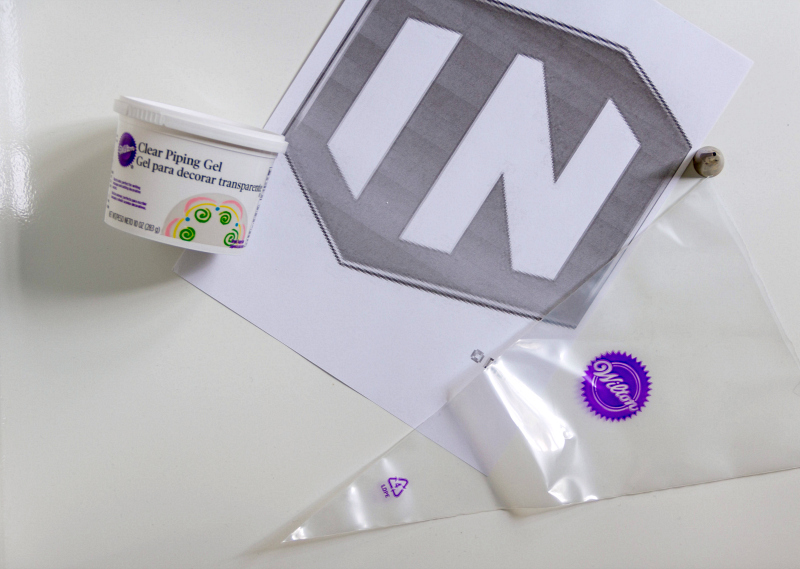
- 1 scratch cake recipe or box cake mix for a 9×13 cake, prepared as directed
- 1 recipe for buttercream frosting, prepared
- 8×8 square baking pan
- clear piping gel
- tip 3
- 1 disposable piping bag
- Disney Infinity Logo printed as large as you can get it on a sheet of paper (if you can print mirror image then do it)..download here
- Red & Orange food gel colorings (I prefer Americolor)
- white cookie frosting
- white cake sparkles (opt, but hides imperfections)
Heavily spray pan with nonstick cooking spray and bake prepared cake batter in 8×8 pan until fully cooked. Test center of cake with toothpick for doneness (toothpick comes out clean when done). Allow to cool in pan for 5 minutes and then flip out onto a cooling rack to finish cooling for several hours.
Meanwhile, make the buttercream frosting and separate into 2 bowls (with a 3rd bowl empty and waiting). One bowl tint with red food coloring and the other orange. Start with just a few drops of color and mix in…slowly adding more drops until the desired shade is reached (note that the shade will darken a little as it dries). Then take a 1/3 of each color into the 3rd bowl and combine.
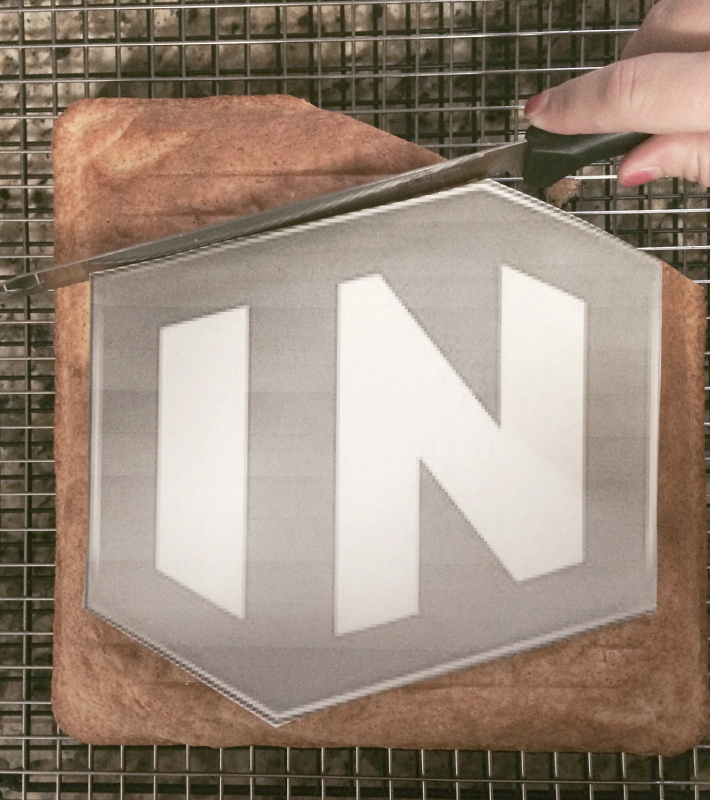
Cut out image and place on the top of the cooled cake. (If you printed the mirror image, make sure to flip it over so that orientation is correct when cutting the shape.) Using a serrated knife cut the cake in the shape of the print out. Save the print out.
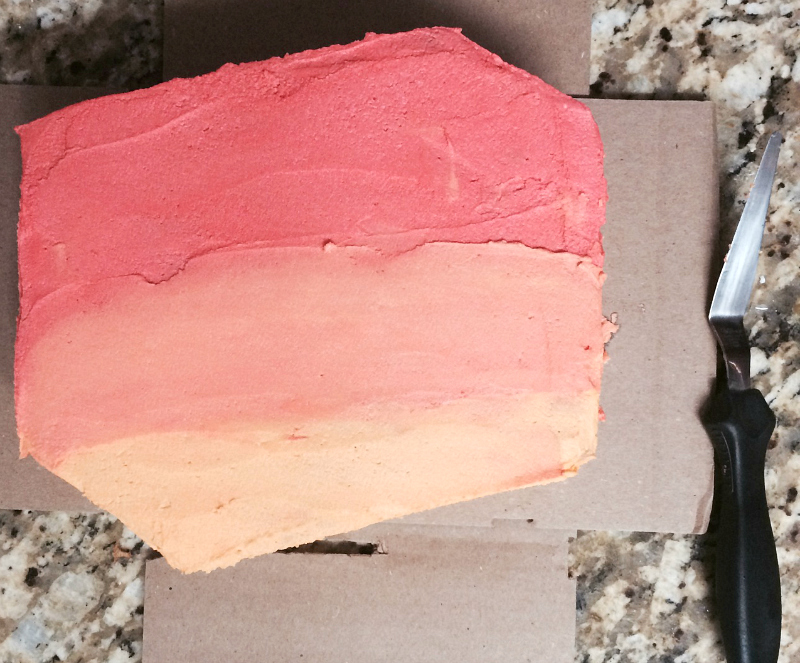
Place cake on serving platter and begin to frost the top with red and the bottom with the orange, use the combined color for the middle of the cake. Smooth and blend the colors. Go slow and use an off-set spatula to help smooth out the frosting. As the buttercream sits untouched, it will begin to form a crust. This is normal and you actually want it to form.
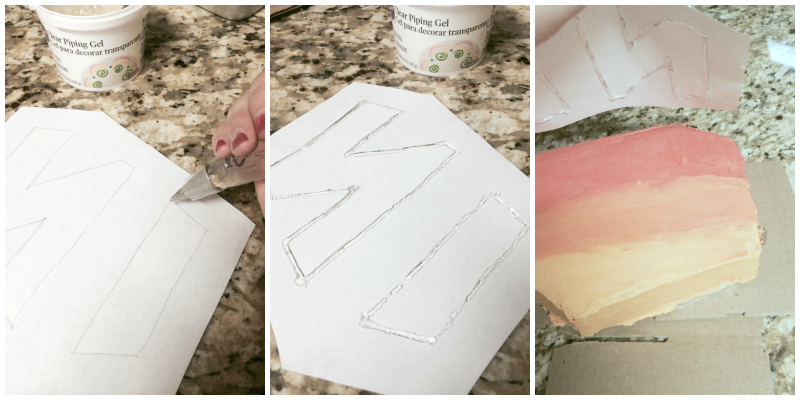
Fit the piping bag with the tip and cut an opening to allow the tip to partially come through. Put about 1/2 cup of piping gel into the bag. Use the piping gel to trace and outline of the letters (make sure you are tracing the mirror image). If you didn’t print the mirror image, flip the image over and trace the backside. Once the letters are traced, flip the paper over onto the frosted cake (line up the edges of the paper and cake before putting the paper down). Gently trace your finger over the areas where the piping and cake meet. This will transfer some of the piping gel onto the cake, giving you an outline for where to pipe the white frosting.
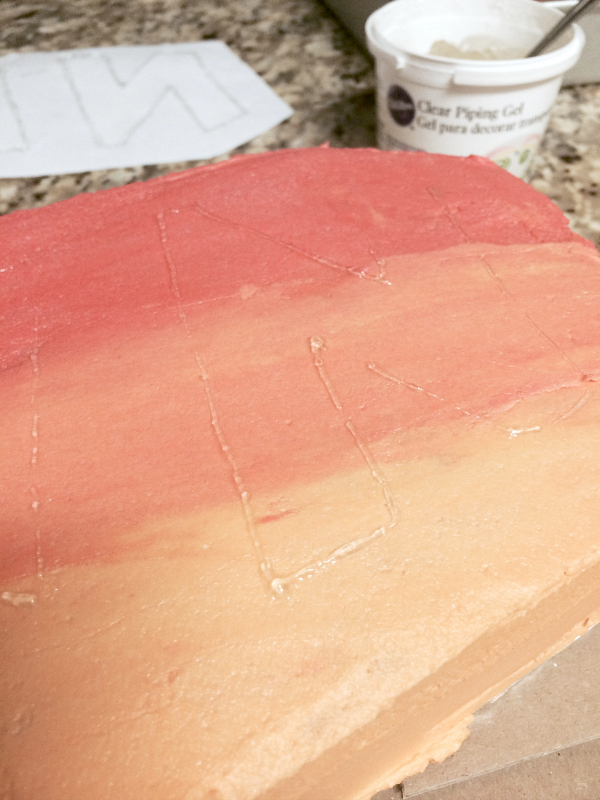
See the outline of the piping gel on the cake? Use this as your guide for the next step. It doesn’t have to be perfect, just good enough so that you know where to put the the cookie frosting.
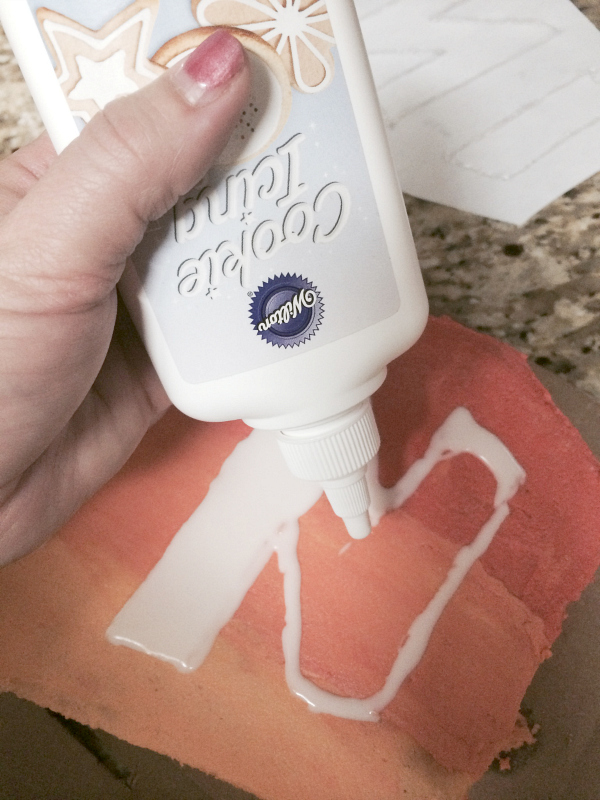
Use white cookie frosting to outline the letters (where the piping gel is). Let it harden just a few minutes before filling in the letters with more frosting (this is called flooding the area). If you know how to use color flow then use it instead of the cookie frosting, but the color flow technique is a bit more advanced. The cookie frosting works pretty well too. Before the frosting dries, sprinkle with white cake sparkles (these are different than sprinkles). They look beautiful and are a great way to hide any imperfections. I sprinkled mine on the next day before taking the cake to the party.
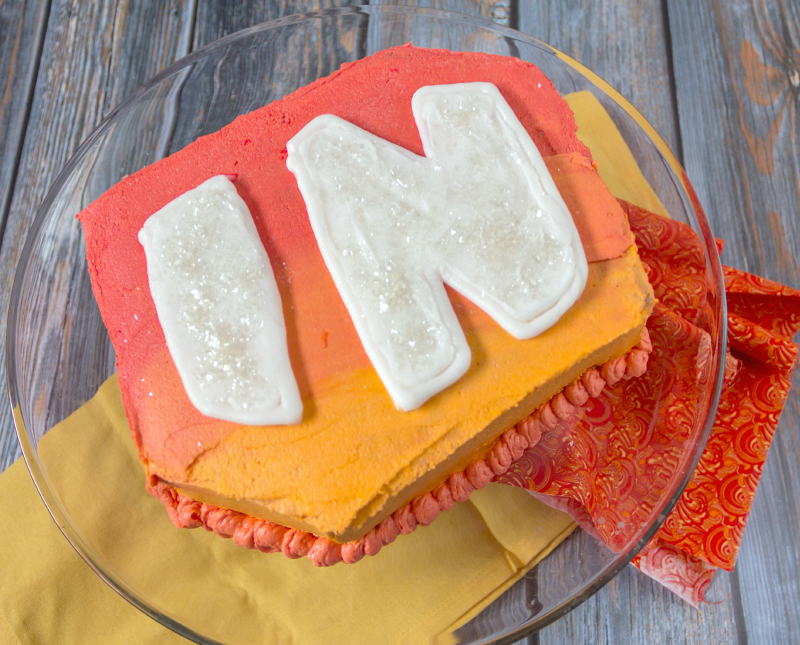
You can see in the close up that it’s not perfect, but it was super cute and everyone loved it! Plus those cake sparkles hid the little issue I had with the frosting and the humidity that we don’t normally have here in AZ.



This is simply adorable!
Wendy, I loved this cake and now I know how you made it! Thank you so much for making this for our party and even though I really hated to cut the cake, the children loved it! Thank you!!!
You are very welcome, Wendy. It was my pleasure to make it for you. 🙂