This post may contain affiliate links. Please read my disclosure.
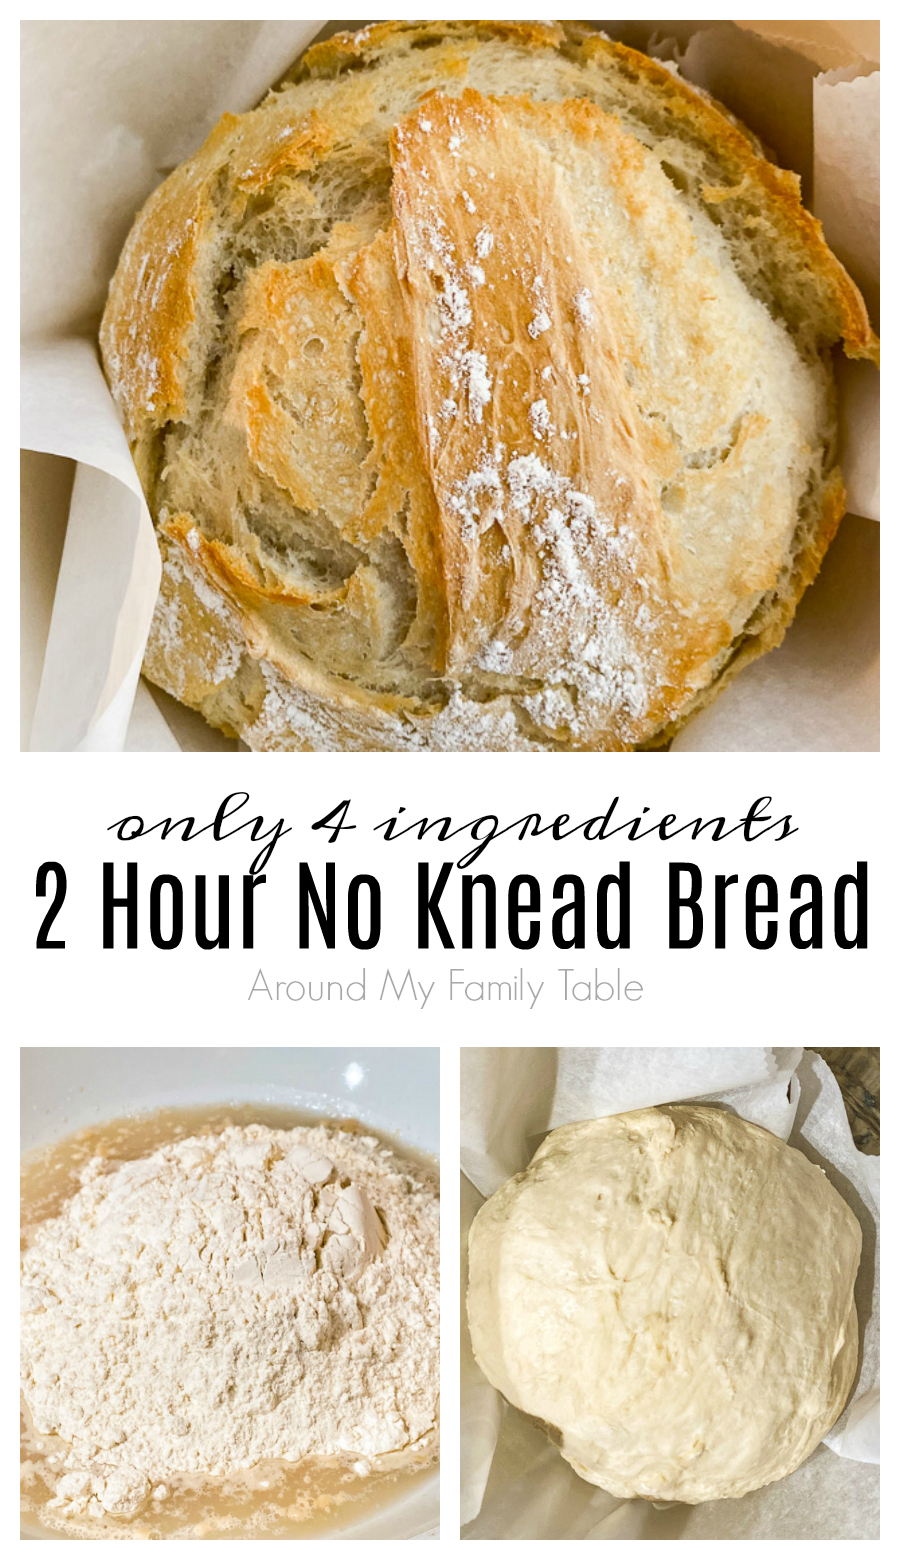
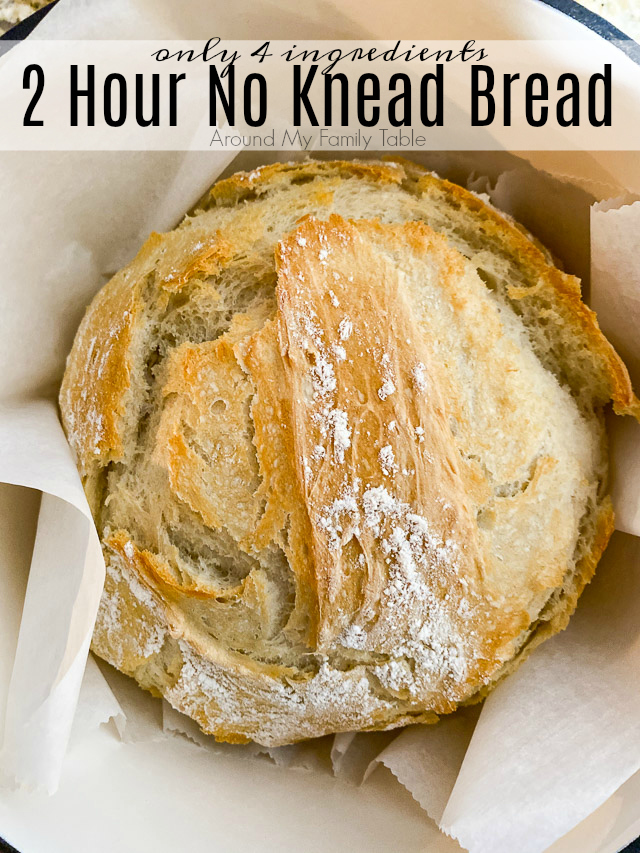
Making bread at home has never been easier than with my recipe for the Easiest 2 Hour No Knead Bread. Only 4 ingredients and 2 hours to hot, delicious bread on your table.
I absolutely love making bread from scratch. But honestly, I don’t always have a time of time devote to a long extensive recipe.
There is just something about the making something so beautiful and delicious with my hands for my family that brings me joy. So, I’ve started making this easy 2 hour, no knead bread. It’s perfect for weeknights.
Throw everything together when the kids get home from school, help with homework, and then BAM! hot fresh bread to go with dinner. I promise, there is so little hands on time, it almost feels like cheating.
Ingredient notes and substitutions:
- All Purpose Flour
- SAF yeast (or Instant or RapidRise yeast), I prefer SAF yeast
- coarse Kosher salt
- hot water


- large bowl
- plastic wrap
- parchment paper
- 5 qt Dutch oven
- wooden spoon
No Knead Bread Troubleshooting:
Dough Didn’t Rise?
- The water may have been the wrong temperature. Hot tap water is usually around 125 to 130°F. Anything hotter than that and it will kill the yeast (definitely don’t use boiling water).
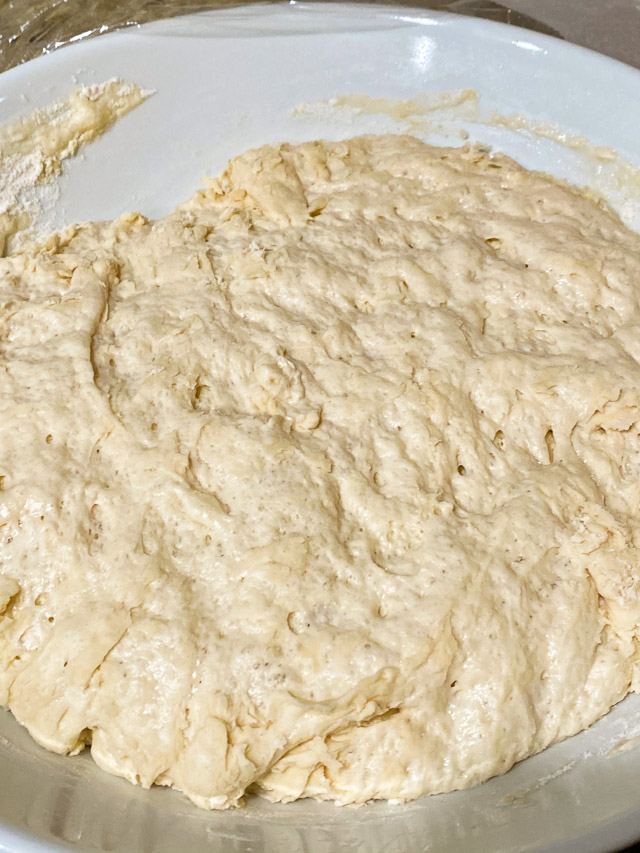
- This bread dough will not rise like regular yeast breads, it will only puffs up a little and gets bubbly. It will be a little bigger after the resting time, but it’s double or triple in size.
- The yeast may not be fresh and should not be used past the expiration date. Store yeast in the freezer for best results and to slightly extend the expiration time.
Dough Was Runny
- Don’t sift the flour before measuring, which would cause you to use less flour than required. Sift flour AFTER measuring, never before unless specified in the recipe.
- There was too much liquid or not enough flour. Use a measuring cup specific for measuring liquids, place it on a flat surface and view it at eye level to make sure the liquid is at the correct line.
Dough Was Dry
- You measured the flour incorrectly. To measure flour, use a flat-topped measuring cup, gently spoon the aerated flour into the cup until it’s slightly mounded above the rim. Use the back of a knife to level off the excess. Do not tap the cup or the container of flour.
- You did not aerate your flour before measuring. Flour always settles in the bag or container and must be aerated before measuring; otherwise, you will be using too much flour. To aerate flour, using the measuring cup, scoop up flour and pour it out several times, trying to move all the flour in the container to incorporate some air.
Bread Wasn’t Cooked on the Inside or Crust Was Too Hard
- Your oven (and pot) were not preheated long enough. Use an oven thermometer to make sure your oven has reached 450°F. It can take over half an hour.
- You sliced it too soon (it’s so hard to wait, I know). After bread is removed from the oven, it will continue to cook so let it cool completely before slicing.
- Your pot was too close to the heat. Try raising the oven rack so the bottom of the pot is not as close to the heat source.
- Your oven may be hotter than you think. Use an oven thermometer to make sure your oven is the correct temperature.
- If your cast iron pot is black, try another one that is not black.
- Do not bake any longer than indicated.
- Bread should be golden brown and sound hollow when thumped.
No Dutch Oven?
Honestly, I only make this bread in an enameled cast iron Dutch oven (it’s totally worth it), but you can try some of these options. Let me know how they work if you try one:
- a glass pyrex or corningware dish with a lid
- a stainless steel pot with a lid
- a clay baker
- black cast iron pot with a lid (camping style)
- a roasting pan with a tightly sealed foil heavy duty top
- a heavy soup pot with a lid
2 Hour No Knead Bread
Making bread at home has never been easier than with my recipe for the Easiest 2 Hour No Knead Bread. Only 4 ingredients and 2 hours to hot, delicious bread on your table.
Ingredients
- 1 tablespoon SAF yeast (or Instant or RapidRise yeast)
- 1 1/2 cups hot water (up to 130° F)
- 3 cups All Purpose Flour (***AERATE FLOUR BEFORE MEASURING***)
- 1 teaspoon coarse Kosher salt
- (plus about 2 tablespoons extra flour for shaping)
- parchment paper (NOT wax paper)
Instructions
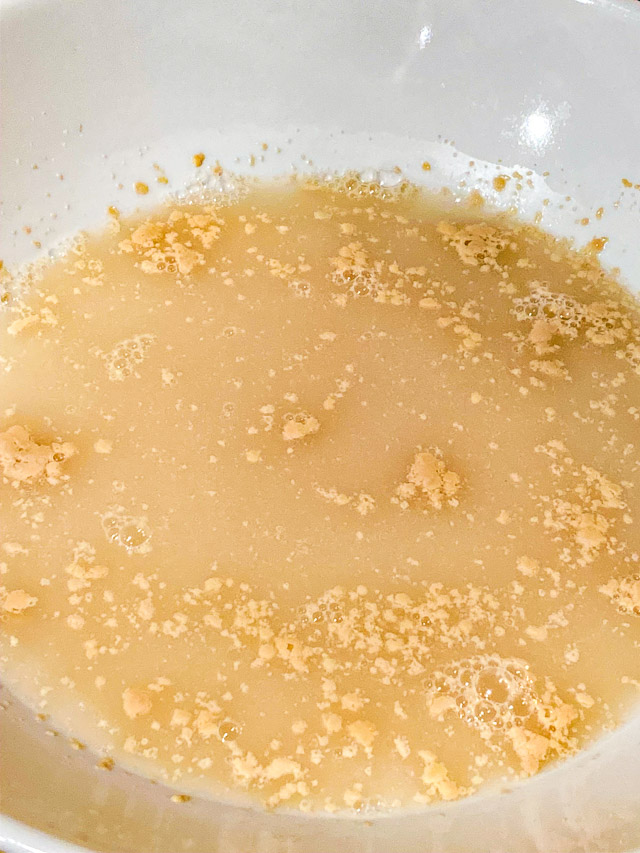
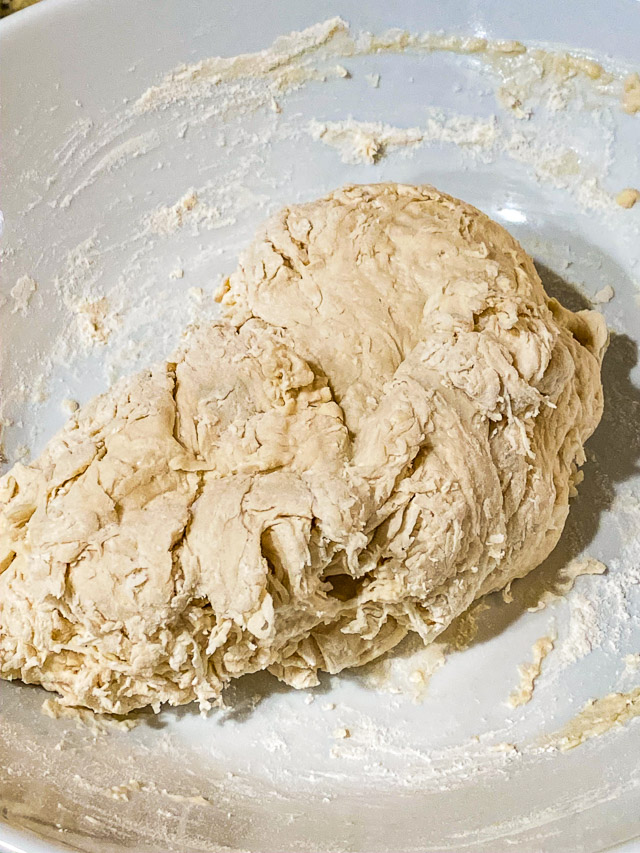
In a large bowl, combine yeast and warm water. Let sit for five minutes.
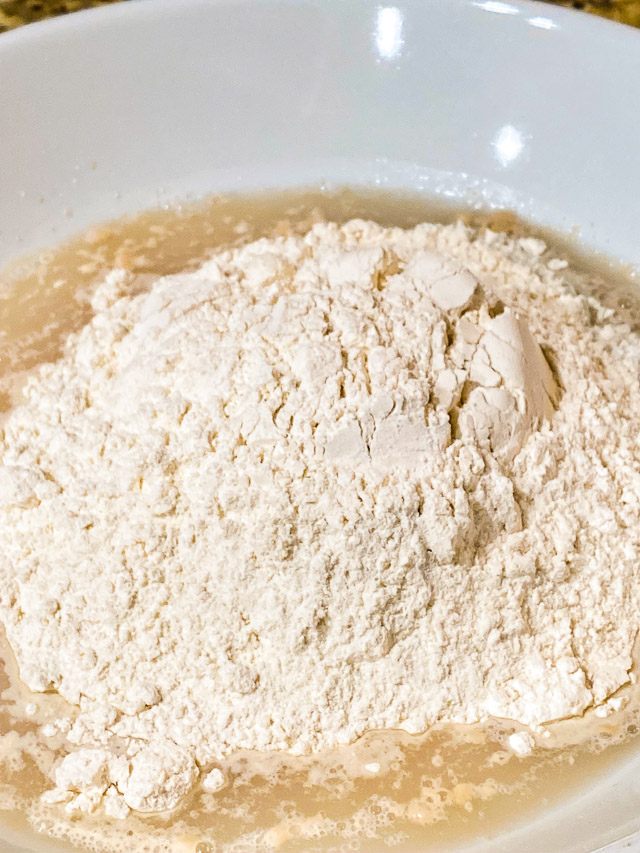
Add flour and salt to the yeast mixture and stir until it’s well combined (dough will be lumpy and won't look like your typical dough for rising).
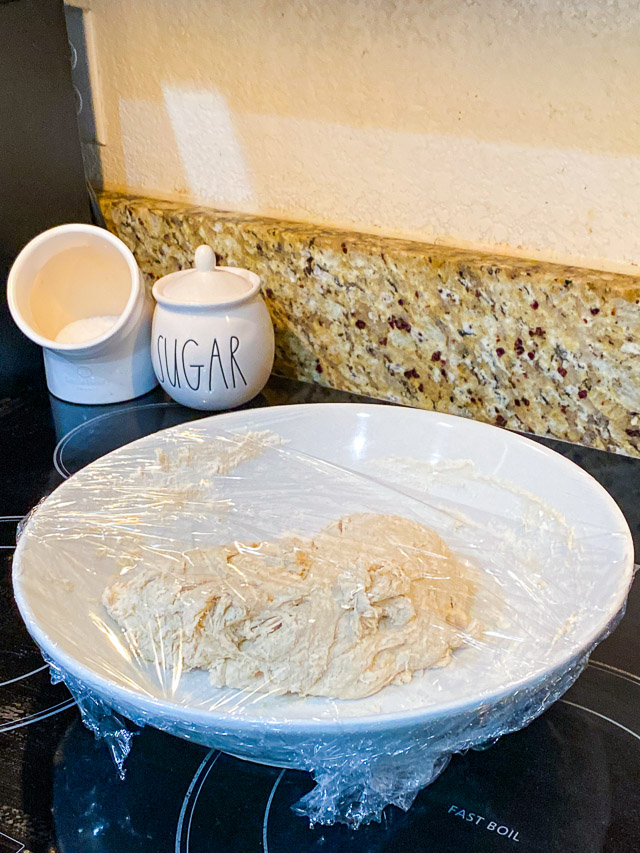
Cover bowl with plastic wrap and let stand in a warm area for 1 hour (I like to put it on my stove with the stove light on).
After the dough has been rising for 40 minutes, place a 3 to 6-quart Dutch oven with lid in a cold oven and preheat to 450° F. Continue letting the dough rise for 20 more minutes.
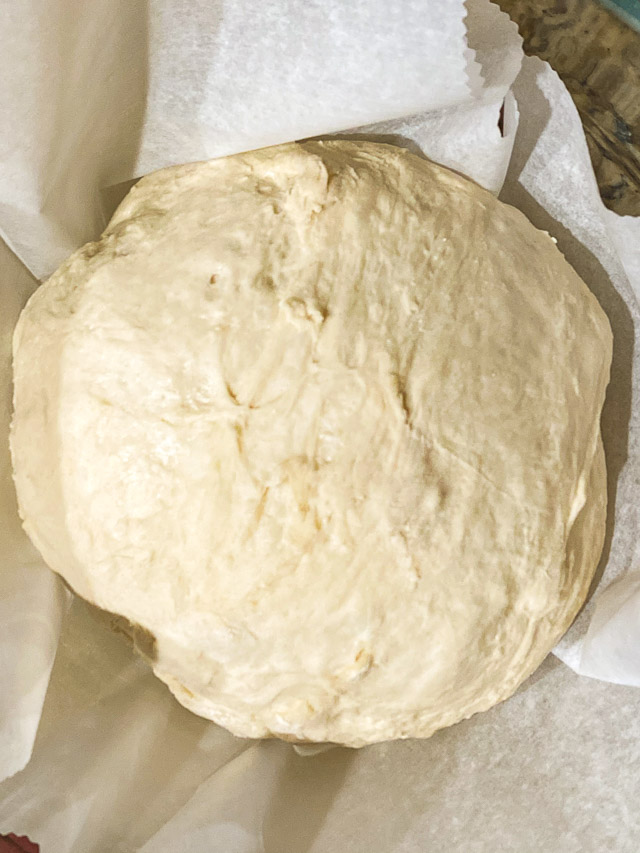
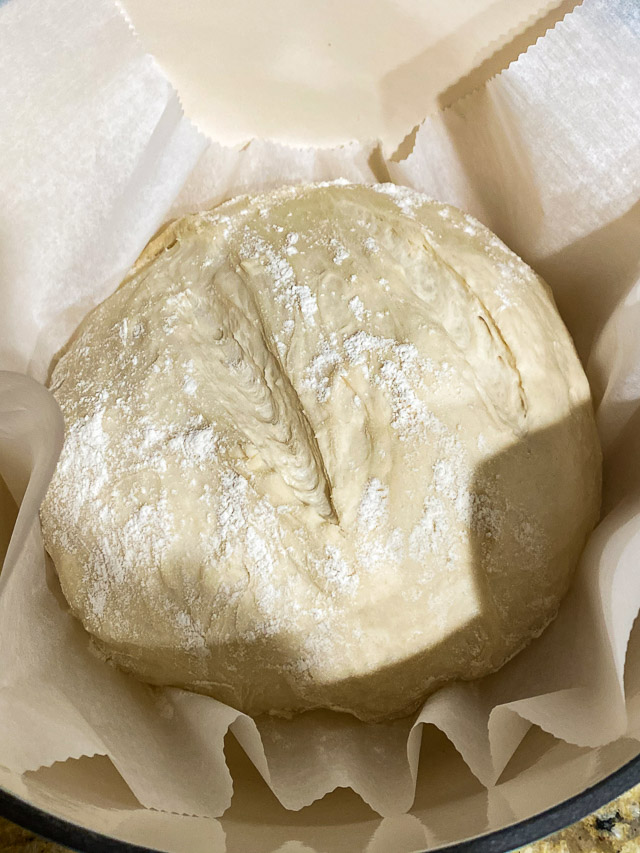
After the dough has risen for the full hour, turn dough out on a well-floured surface and sprinkle the top with a little additional flour. Using a bench scraper (or hands) fold dough over about 10 times to shape into a ball.
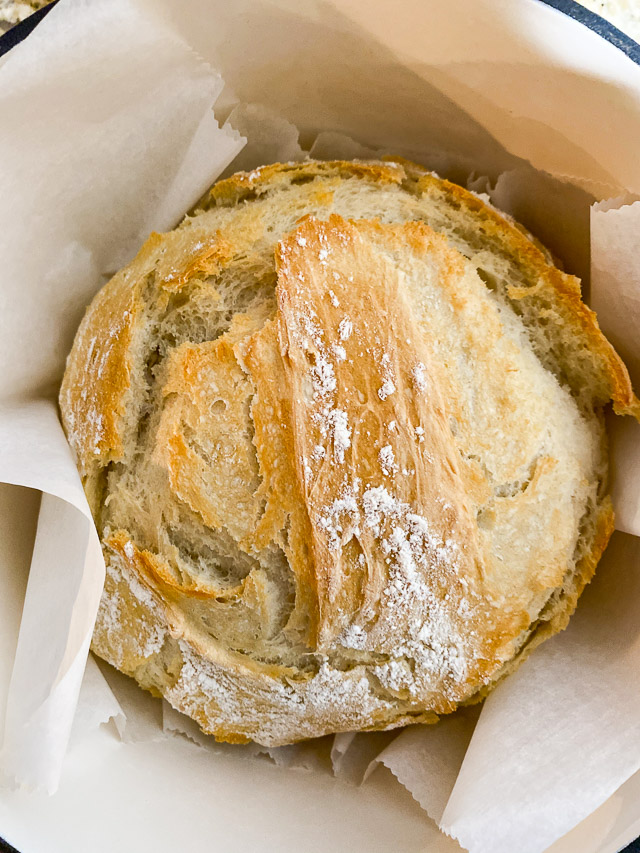
Place dough ball into a large bowl lined with parchment paper (NOT wax paper) and cover with a towel. Let dough rest on counter for 15 minutes. After 15 minutes, carefully (using oven mitts) remove heated Dutch oven and place the lid on a safe surface, lift the parchment paper and dough from the bowl and place gently into the hot pot. (the parchment paper too). Cover and bake for 30 minutes. Then, remove lid and bake uncovered 10 additional minutes or until bread is a golden color and sounds hollow when thumped.
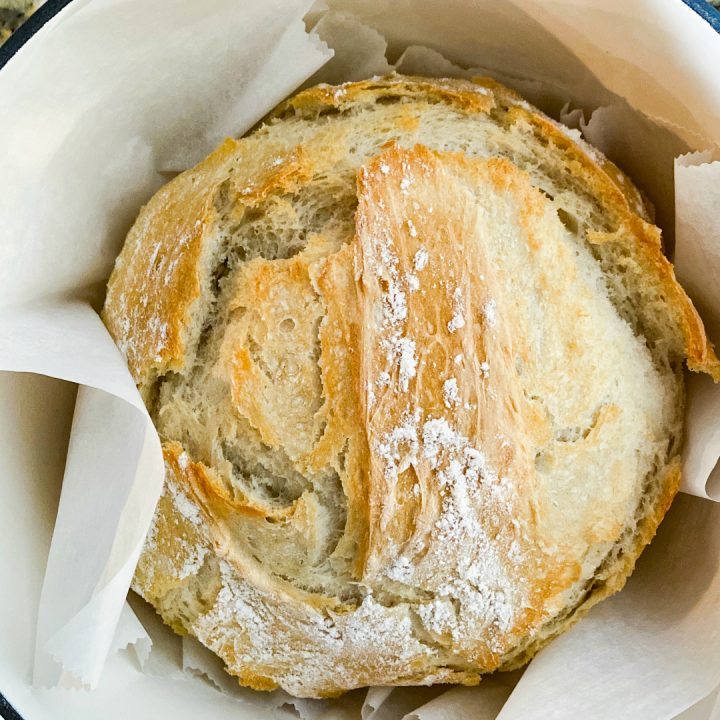
Remove Dutch oven carefully from the oven, with oven mitts, and take the bread out of the pot to cool. It's best to let bread cool completely.
Notes
***AERATE FLOUR BEFORE MEASURING, using a spoon to stir or a measuring cup to scoop up flour and pour it out several times, trying to move all the flour in the container to incorporate some air.***
Note: The first few times you make this recipe, don't change it. Master it. Then change it, if you desire.
Recommended Products
As an Amazon Associate and member of other affiliate programs, I earn from qualifying purchases.


Pin this recipe to your favorite Pinterest board:


Can this be made using 1for1 gluten free flour?
I haven’t tried it with a gluten free flour. Let me know if you try it and how it works. w-
I read to aerate flour before measuring them down a ways it says after. Can I use wheat flour?
I used wheat flour. Are you asking about whole wheat flour? I haven’t tried that…it would definitely be a lot denser. w-
Finished product was perfection! Now a couple of things…one my dough was super loose and almost like paste. Did not think it would give any sort of good results but it did. Then since it was so wet and sticky when I turned it out to form the ball I decided to forget about the folding step completely. At this point I sprinkled grated Romano and fresh herbs of rosemary, garlic chives and oregano on the dough before I pulled it into the ball. Once it was in a semi tight ball I sprinkled more grated cheese and herbs and threw it in the oven. Never did I imagine it would be so delicious and so picture perfect.
Found this recipe when I searched for a no knead bread that could be made faster than the NYT 4-5 hour speedy no-knead bread recipe that I have used for years. This turned out better and will become my go to no knead bread recipe. I added 1/2 cup of sliced Kalamata olives at the same time I added the water/yeast to the flour/salt and then right before it went into the oven, I sprinkled the top with course kosher salt. Perfect with my linguini with white wine clam sauce dinner.
So glad you loved it Lori. w-
Can dried cranberries or chopped nuts or herbs/spices be added, or would they interfere with the rising?
Hi Linda, I don’t see why it would bother the dough..however, I’ve never done it. Let me know if you try it. w-
The parchment paper became very brown and brittle in my gas oven. Has anyone had this experience? The paper box instructions said it can only withstand 420 degrees. I removed the loaf and finished off on a cookie sheet.
I would just skip using it. Still use the pot to get the bread nice and crispy. My parchment hasn’t done that, but I could see that happening if your parchment is rated for 420F. w-
I always use parchment paper and it does this, but it has never caught on fire. Just make sure there is no paper touching the sides of the oven and you’ll be fine.
How do you store the bread if you’re going to eat it another day or over multiple days..thank you!!
Hi Vanessa, I would just store it in a ziplock bag in the fridge. But we usually eat the whole thing, so I don’t have leftovers. lol w-
I have cut some off and flip the cut side down on the cutting board. It stays fresh.
I do this all the time. It stays crusty on outside and soft center.
Jane
Just made it a few days ago, and it was amazing! Now I’m making more. If I split the dough in half because I have a smaller pan, how do you think that will change the cook time.
Hi Haley, So glad you love it. I haven’t tried making smaller loaves yet, but I would think they would take less time. Maybe start checking at about 20 minutes and then uncover for 5 minutes. You’ll probably have to play around with the timing just a little. Enjoy. w-
Wow!!! This was a fantastic recipe and definitely a keeper.
I was skeptical at the “lumpy and won’t look like your typical dough for rising” stage but after rising and the 10 folds it suddenly turned into a beautiful supple dough. Easiest bread I’ve ever made, excellent crumb texture, moist but not too dense – and all that in just 2 hours? Wow 🙂
So glad you liked it Ian. w-
YEAH! So glad you liked it. w-
Our favorite bread!!! We are at 7500 ft elevation. I baked it in a regular bread pan in preheated oven at 375 degrees for about 40 mins or until browned. I make changes. I add 2 cups of water so my dough is pretty loose. I omit the 10 folds, just let it rise 2 hours then dump the dough into a good sized pan and let it rise another hour, covered with a towel. This is the moistest bread ever! It cuts beautifully, no crumbling. Could be because of the extra water I add.
Hi Katie, so glad you liked it. Thanks for sharing your changes. 🙂 w-
But with these changes, it’s no longer a 2-hour bread.
I’ve made this several times and it turns out fantastic every time! I love how quickly it comes together.
Yeah! So glad y’all love it! Enjoy. w-
Please advise adjustments for elevation at 5,000 feet.
Thank you!
Hi Theresa. I honestly don’t know about the elevation changes. I’m at about 1500 feet and haven’t had a chance to try it at higher elevations. If you try it, please report back how it works. Thanks. w-
Thank you for sharing this beautiful recipe.I made it just as you said and it turned out wonderful 😊
So glad you liked it. It’s one of our favorites! w-
Made 2 loaves today, super easy and delicious. Thank you for sharing this.
Great! So glad you like it. 🙂 w-