This post may contain affiliate links. Please read my disclosure.
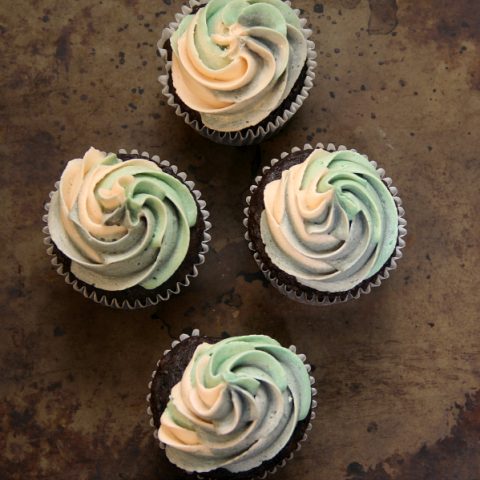
Swirl frosted cupcakes are so much fun to make! Three flavors of frosting come together to create a fun buttercream swirl to decorate your favorite cupcake recipe.
For my daughter’s 9th birthday we had a Duck Dynasty party. Needless to say, there was lots and lots of camouflage…all the way down to the frosting on the cupcakes. My friend Janice over at Celebrating Family recently did camo cupcakes and I’ve done swirled cupcakes in the past so, I decided to do swirl frosted cupcakes in camo colors instead.
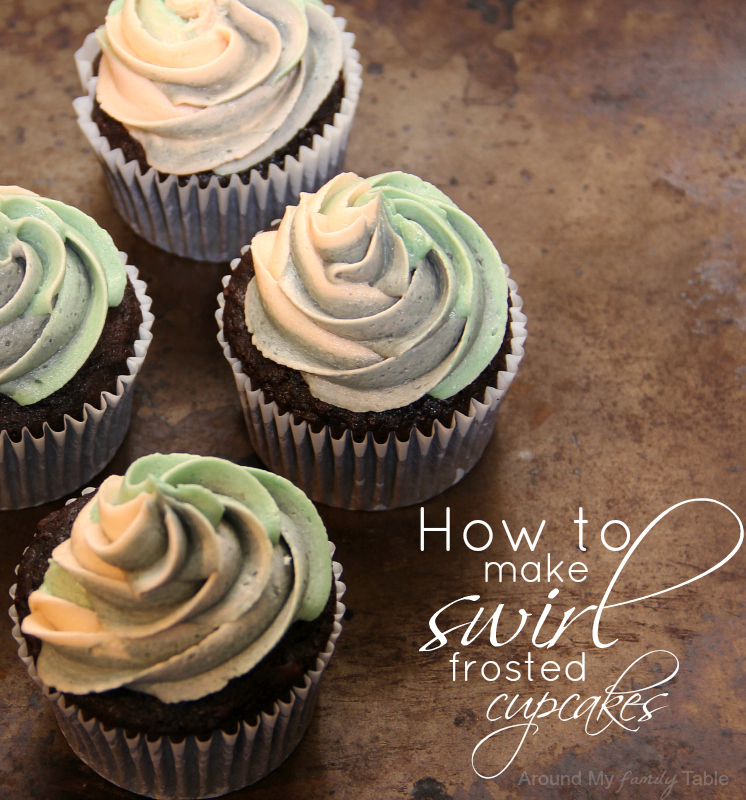
Swirl frosted cupcakes look pretty impressive and couldn’t be more simple. Think of all the possibilities and color combinations using this technique.
Supplies Needed:
- Buttercream Frosting (recipe below)
- 2-3 gel colors, your choice (I prefer Americolor, but Wilton works great too)
- disposable pastry bags
- large 1M or 2A or 2D tip
- cupcakes (my favorite White Cake Recipe and Chocolate Cake Recipe)
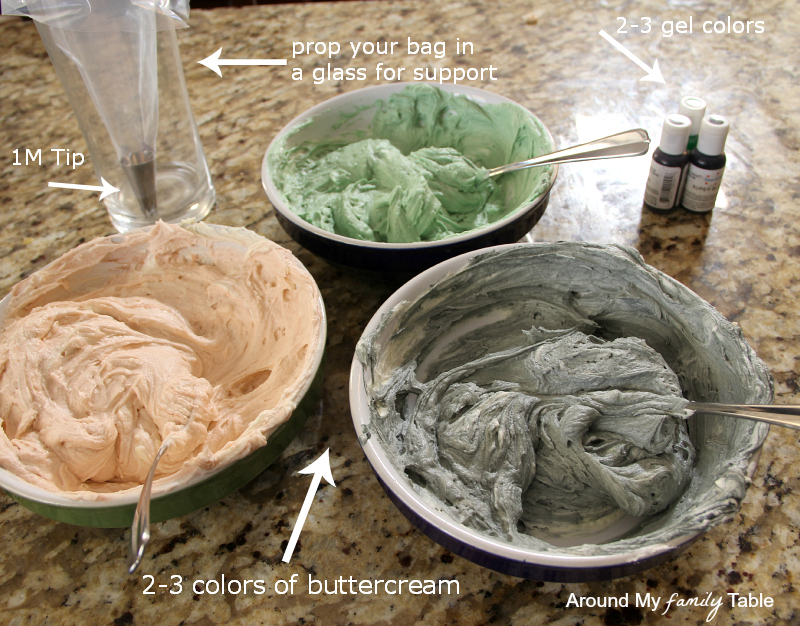
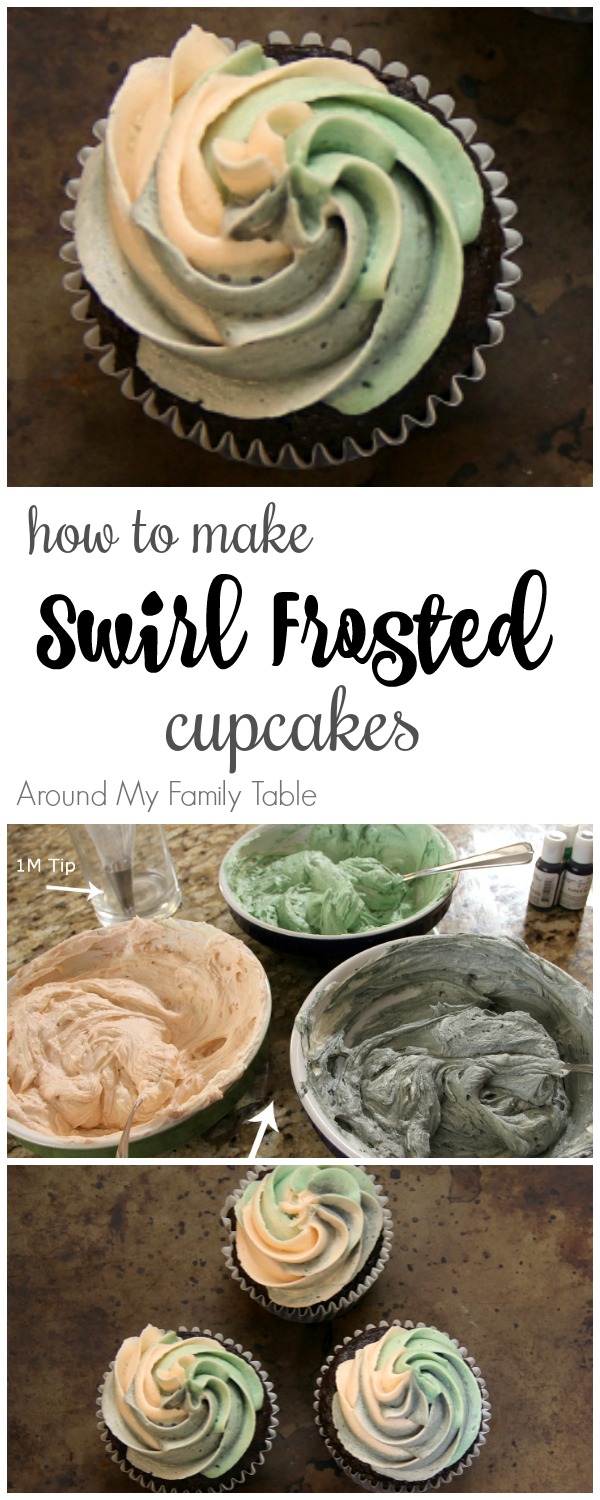
Prepare buttercream as directed in the recipe below or according to your recipe’s instructions, you will need a double batch for 24-36 cupcakes. Divide frosting into 2-3 bowls (depending on how many colors you will be making). Add one gel color to each bowl and mix well until desired color intensity is reached,adding more color as needed.
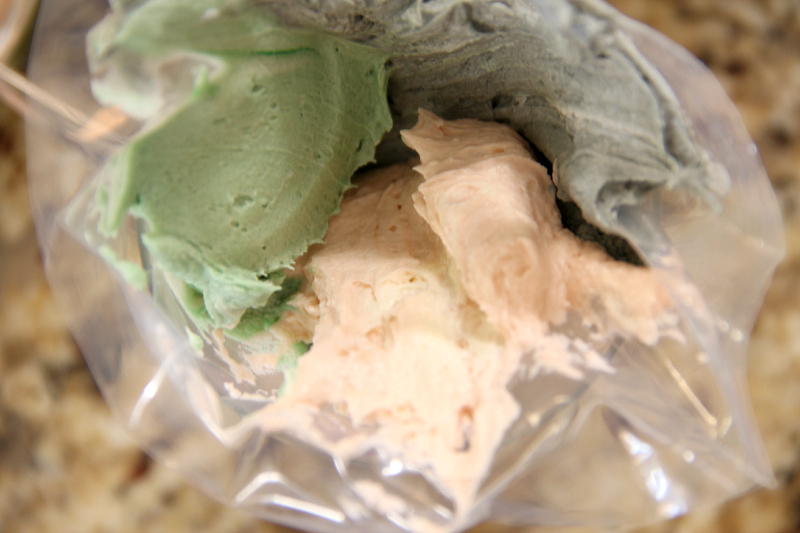
Place tip into the pastry and cut pastry bag tip, just so the tip is coming out of the end. In a tall, {somewhat} skinny glass stand up the pastry bag and fold the ends over the top of the cup. This helps it stand upright while you are filling the bag. Take one color and place it only one one side of the bag, not letting it get all the way to the tip, place the second color on the opposite side of the bag. If three colors are being used, only put frosting colors on about 1/3 of the bag, not letting the colors get all the way to the tip. By keeping them from the tip, it allows you to control the frosting and letting it all come down together as you gently squeeze the pastry bag. Just go slow and use light pressure. The goal is to get all three down to the tip at the same time, so that they come out equally.
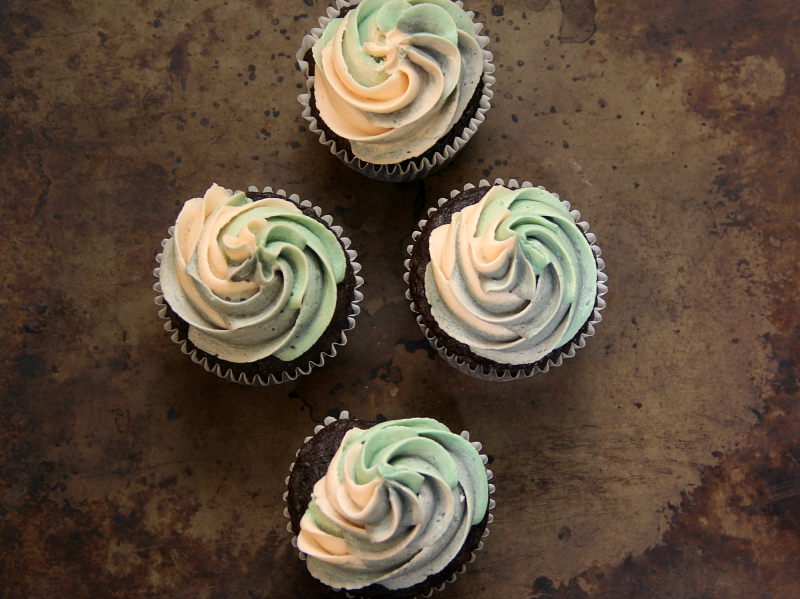
Swirl Frosted Cupcakes Technique:
- Hold tip 1M about ½ inch above the cupcake top at a 90° angle to the top of the cupcake. Squeeze out icing to form a star.
- Without releasing your pressure, raise tip just a little as you move a line of icing around the star in a tight, circular rotation around the cupcake.
- After the first rotation, move tip back toward center and then up and around to make a second spiral around the inside edge of your first spiral.
- Finally, release your pressure to end the spiral at center of cupcake.
- As long as you worked your colors down to the tip together, you should have a beautifully swirl frosted cupcake.
- Note: this is the same technique for getting a beautiful look with or without multiple colors
TIP: For left over frosting, store all the colors together in one freezer safe container until needed (or up to 3 months). When you want to use it, let it come to room temperature, add a little cocoa powder and beat it with your mixer until light and fluffy. The cocoa powder will turn the mess of a color to a pretty brown and give it a nice chocolate flavor.
Swirled Frosted Cupcakes
Swirl frosted cupcakes are so much fun to make! Three flavors of frosting come together to create a fun buttercream swirl to decorate your favorite cupcake recipe
Ingredients
- 1/2 cup butter, softened*
- 1/2 cup shortening
- 2 tbls warm water (2-3)
- 1 tsp almond extract
- 1 lb confectioners sugar
- *(or keep it dairy free by using all butter flavored shortening)
Instructions
- Beat together butter, shortening, 1 tbsp of warm water, and almond until smooth and creamy. Beat in the sugar gradually on a low setting. Scrape sides of bowl as needed.
- Mixture will be very thick. After all sugar is incorporated, add 1-2 more tbsp. of warm water and beat at medium/medium-high speed for 1-2 more minutes. Adding more warm water will continue to thin the frosting consistency and bring down the sweetness even more. Add as much as you like to get the appropriate flavor and consistency. Be careful because a little goes a long way.
- The frosting can also be made several days in advance and stored in an airtight container in the refrigerator. Bring to room temperature, then mix well before using. Leftovers should be refrigerated.
- Get the look by using Decorating Tube 1M fitted into a piping bag.


so nice….. I have been saving and making mixed colors into chocolate for years! Hate to toss the ingredients and hard work out. Glad to see it mentioned here.
So glad I’m not the only one Cheryl! I try to be frugal when I can and this is one way that makes total sense for me. w-
These are beautiful! Very clever to put the camouflage colors in a swirl. This post was very helpful to me as Camouflage is very popular in my family too!
So glad it’s helpful to you. 🙂
This looks cool, do the colors ever just run together though and form a grey icing or do they stay the three
As long as the frosting isn’t too thin then it stays perfectly! 🙂
I could see using this for so many occasions! But first I am going to have to practice this technique on some waxed paper. Thanks for the tutorial.
These are so pretty! Thanks for the tips, especially the one for saving leftover frosting! I’ve always got some leftovers after decorating cookies this time of year, and now it won’t go to waste.